Menu, Dashboard and Dashlets
This chapter gives an overview of CiviCRM's dashboard (its 'home page') and the navigation menu available for people working in CiviCRM.
The navigation menu
The navigation menu is a small bar at the top of every "back office" page of CiviCRM.

It provides access to nearly every function of CiviCRM and is broadly organised into headings by individual CiviComponents (such as Contributions, Events and Mailings), with a few exceptions for Search and Administer, both of which cover all of the enabled CiviComponents.

You can modify the navigation menu by going to: Administer > Customize > Navigation Menu and then adding or rearranging menu items on the screen.
You can also add icons to the navigation menu items. By editing the navigation menu item you will see a text input called (Icon):
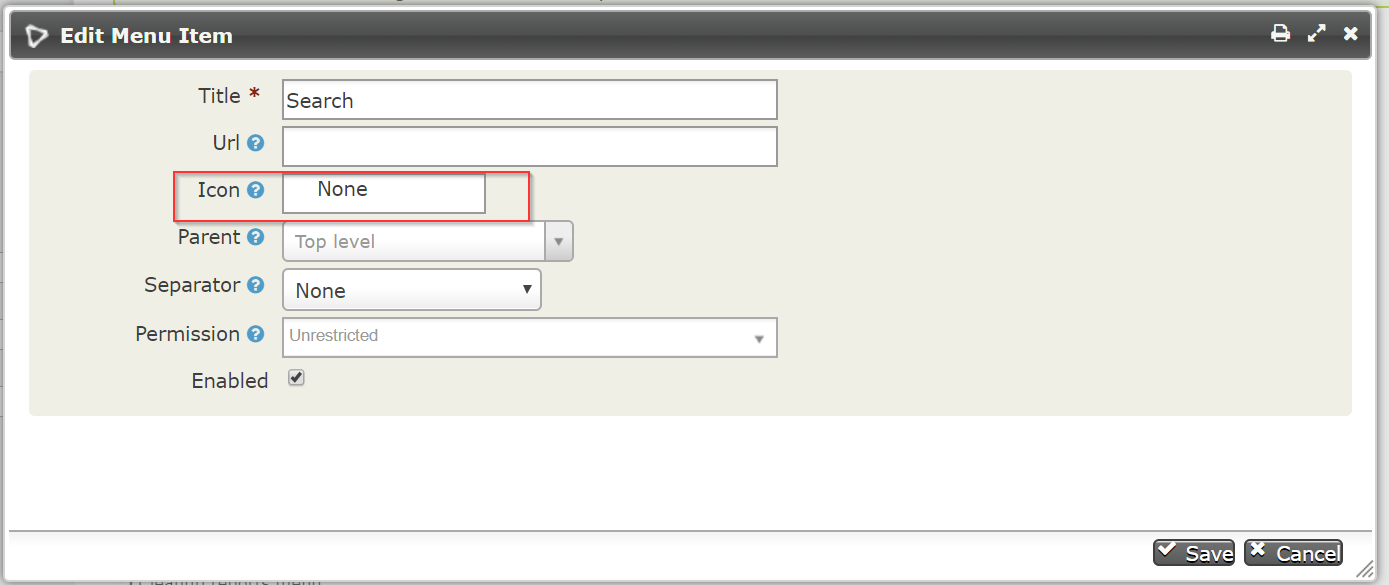
You can click on the icon field and the icon-picker will appear allowing you to choose a desired icon :
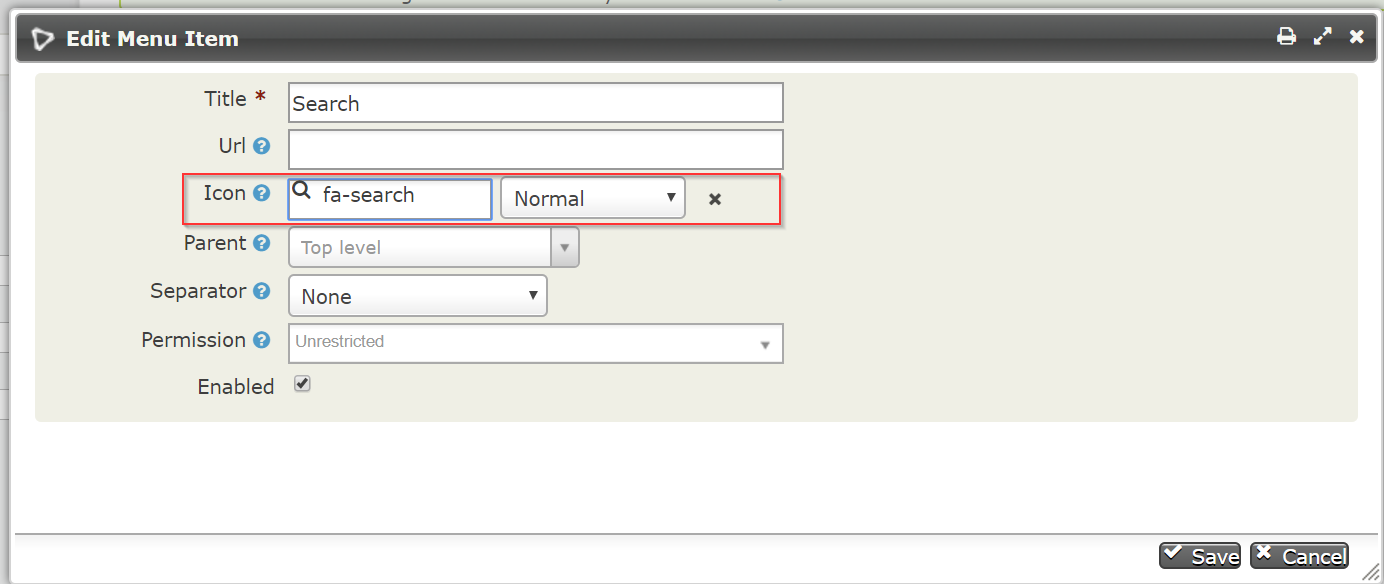
After refreshing the page, the icon will appear next to the navigation menu item:

Remember that changes you make to the navigation menu will be seen by everyone who has the appropriate permissions to see the menu, for better or for worse, so be careful when modifying the navigation menu.
To the left of the navigation menu is the Quick search field. See the chapter on Searching for more details.
The home dashboard & dashlets
When you first log into CiviCRM, the first page that you will see is the dashboard (CiviCRM Home). The dashboard allows you to see important information about your site and CiviCRM by displaying a series of "dashlets". A dashlet is a report that you can display on your home dashboard. Many dashlets come with CiviCRM by default, and you or your administrator can create additional dashlets that are specific to your organization's needs. Some examples of dashlets that come with CiviCRM include:
- Donor Report: a bar graph of the amount of total contributions per month for the last five months.
- Activities: a list of recent activities that have been recorded by CiviCRM (this could include emails sent to constituents, donations that have been made, or meetings that have been scheduled in CiviCRM).
- Membership Report: a table summarising information about Members tracked by CiviCRM and broken out by month. This includes the number of Members of each type, total amounts of payments made and the number of contributions made, among other things.

You can add these dashlets to your CiviCRM dashboard by clicking the Configure Your Dashboard button. You will see a list of dashlets that can be dragged into the right or left column of your dashboard.

Click Done to save the dashlets to your dashboard. From now on, you will see updates to the status of your dashlets every time you log in (if you'd like to check and see any changes that have occurred more recently, you can always click Refresh Dashboard Data - this will reload each dashlet and pull in any new information). For performance reasons, dashlets are cached. You can change how often a dashlet refreshes by editing its report. For example for the Contribution Summary report go to Reports > Contribution Reports and click on Contribution Summary. Under the tab Access you will find the Cache dashlet for option. If that option is not available, first select the box that says Available for Dashboard?. To save click on Actions > Save.
Almost any CiviCRM report can be made available as a dashlet.
To create a dashlet, do the following:
- Click Reports > My Reports and subsequently on the button New Report.
- Select the report template that you want to use.
- While here, configure the report via the tabs Columns, Sorting, and Filters. For example, you may want the report to always show data for "This Quarter" or "This Year". That is what the filter "Date Received" is for.
- Click View results.
- Choose between Tabular, Bar Chart, or Pie Chart via the dropdown box to the right of the Actions dropdown.
- At the bottom of the Access tab, select the box that says Available for Dashboard?. Users with permissions to see that information will be able to add that dashlet. (See the section on permissions for more information).
- Click Actions > Create Report.
Now add the dashlet to your dashboard:
- Click in the menu on the CiviCRM logo and then on CiviCRM Home to get to your dashboard.
- Click Configure Dashboard. Drag the dashlet from the "Available Dashlets" box to the column where you'd like it to appear.
- Click Done.
(Refer to the section on Reporting for more details on working with reports.)