Everyday Tasks
Managing Your Surveys
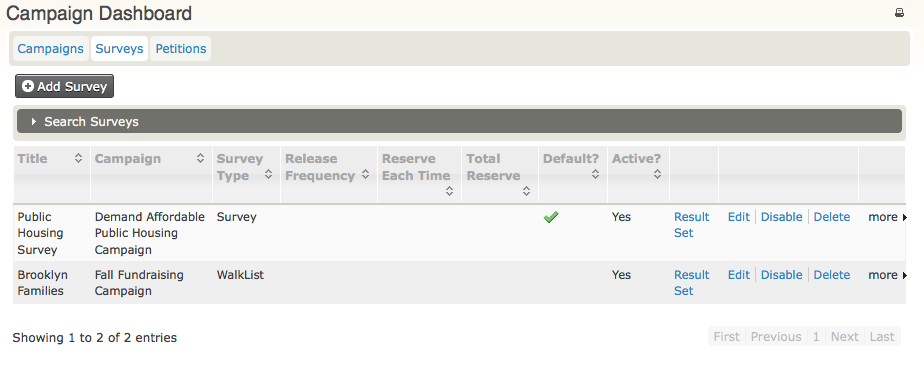
To view and edit existing surveys, go toCampaign > Dashboard > Surveys. Here you will find a summary of your surveys.
Use the links at the right to manage existing surveys, or click Add Survey to create a new survey.
Reserving Respondents
Before conducting a survey, you need to determine the group of individuals you want to interview; in CiviCRM this is called reserving respondents.
The reserved group can be divided into smaller subsets, as this may be a more manageable number of contacts to interview within available time periods.
To learn more about how to create a group, see Groups and Tags.
To reserve a group of respondents:
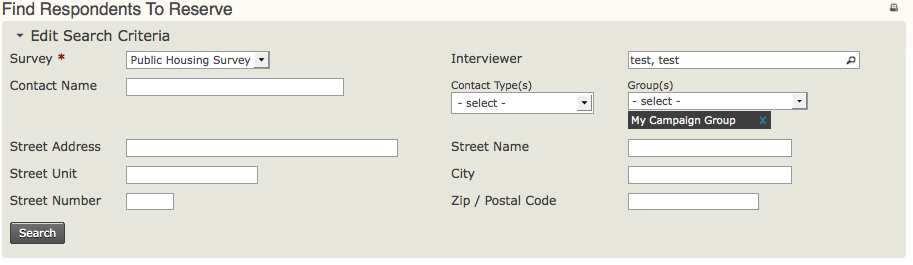
- Go to Campaigns > Reserve Respondents.
- From the Survey dropdown menu select the name of the survey (required).
- From the Group(s) dropdown menu select the name of the group of the contacts to be interviewed.
-
You can enter additional criteria to limit your search to a geographic area, such as Street Address, Street Name, Street Unit, Street Number, City, Zip/Postal Code.
Note
CiviCRM will parse a street address into Street Name, Street Unit, Street Number - which is extremely useful if you're planning a large door-to-door canvass - only if you turn on address parsing by clicking on Administer > Administration Console> Configuration Checklist > Address Settings, then in the Address Editing area, check the box for Street Address Parsing.)
-
Click Search.
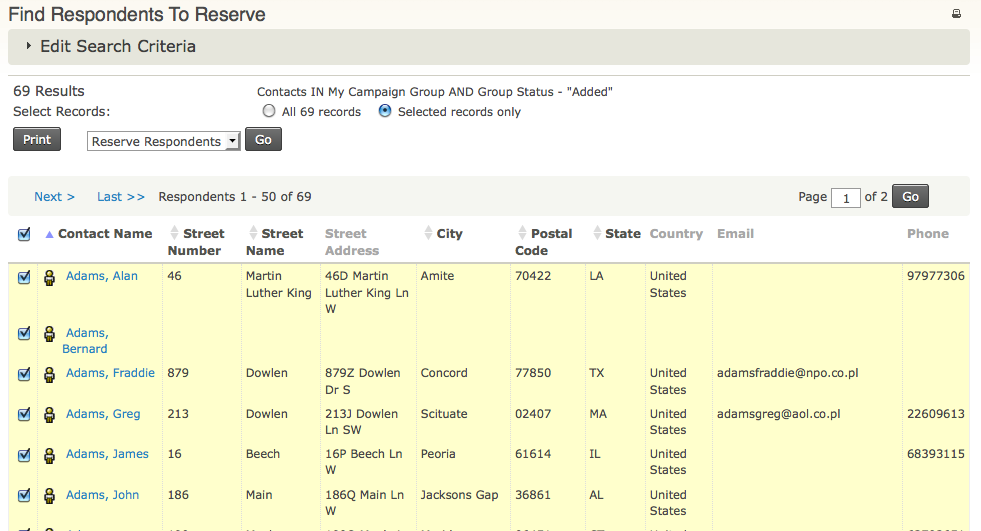
On the Find Respondents to Reserve search results screen, select the contacts to be reserved for interviewing:
- Select the individuals to be reserved for surveys by checking the individual contacts to be interviewed (or select all of the contacts by clicking the radio button for All n records (where n is the number of contacts found in the reserve respondents search).
- Click Go to reserve the respondents.
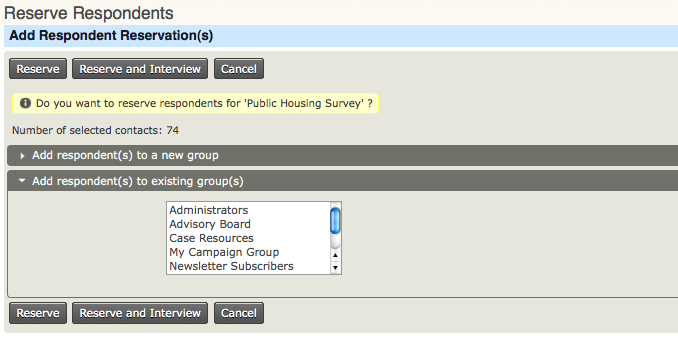
On the Reserve Respondents screen, click Reserve.
Interview Respondents
- To interview respondents Click Campaign > Interview Respondents.
-
On the Find Respondents to Interview screen use the same criteria as for Reserve Respondents:
- Survey: (required) select the name of the survey
- Group(s): select the name of the group of the contacts to be interviewed
- click Search.
-
On the search results screen, either select the individuals to record responses, or select All n records (where n is the number of contacts found in the reserve respondents search).
-
Click Go to record survey responses.
-
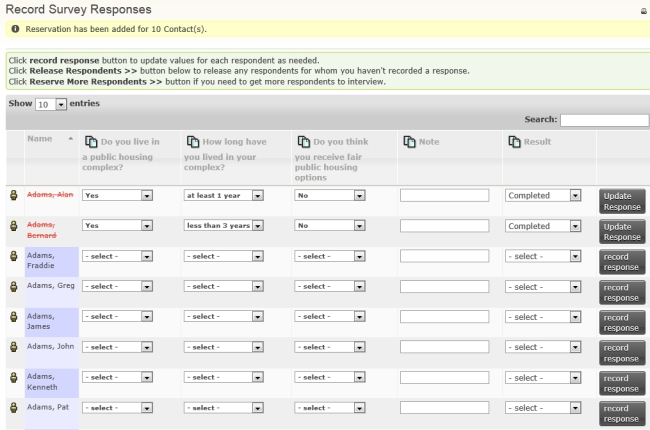
On the Record Survey Responses screen for each individual, record the responses to the questions.
- In the Result column, select the status of responses to the survey. Like 'Completed, No Answer'.
-
Click Record Response,then choose one of the following:
-
Click Done if you have finished recording the responses and return to the Find Respondents to Interview screen.
- Click Release Respondents if you decide not to record responses for the contacts; then on the Release Respondents screen, click Release Respondents so they will no longer be reserved and another volunteer can reserve the contacts to be interviewed.
- Click Reserve More Respondents to find more contacts to be interviewed.
Reviewing Results of the Survey
At the end of the canvass, a program lead may want to review the results of the survey. Refer to Reports and Analysis to learn how to view this report.
How to create a list of addresses for Surveys of type Walklist
Surveys allow you to easily print walk lists for your volunteers or staff who are doing door-knocking activities and want to conduct a survey at the door.
Door-knocking canvass activities may be one strategic activity that's part of a larger campaign, so you may want to set up a Campaign if you haven't done so already.
Create your WalkList report
- Go to Reports > Create Templates from Reports > Survey Report (Detail).
- In the Display Columns area, check the boxes for: Street Number, Street Name, Street Unit, Survey Responses.
- In the Group By Columns area, check the boxes for: Street Name, Odd/Even Street Number.
- In the Set Filters area, select your survey name in Survey, and for Respondent Status select Is Equal to and Reserved from the dropdown menus.
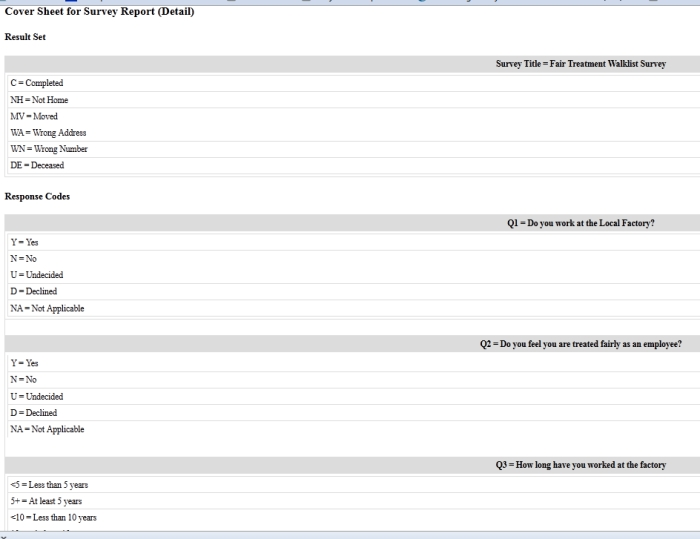
- Click Preview Report, then Print Preview.
- Print your report. You will see that the print out includes a cover sheet with the survey questions (both label and value) and and that the report is sorted by street name and odd and even street numbers. See Set up for more information.
Conduct your door-knock canvass
Your organisers and volunteers are now ready to door-knock and collect responses on their WalkList report sheets.
Recording responses from the canvass
At the end of each day or evening of canvassing, each organiser or volunteer can record the responses directly into CiviCRM.
- Go to Campaigns > Interview Respondents.
- Enter the name of your survey and the name of the target group you surveyed during the canvass; you may also enter the street name if you want to work with a smaller group of contacts to record responses.
- On the Find Respondents to Interview screen, select the contacts for whom you want to record responses.
- Click Go.
- Enter the responses and results according to your WalkList sheet responses, then click Record Response.