Invoicing
Invoicing works for all Financial Types and Completed and Pending Contribution Statuses and has to be enabled. To enable invoicing go to Administer > CiviContribute > CiviContribute Component Settings and check the "Enable Tax and Invoicing" box.
In this screen you can set certain settings for invoices as well:
- add a prefix for invoices
- the interval of days, weeks, or years until due date
- customized notes or standard terms you want to appear on your invoice

Creating an Invoice
Once Invoicing has been enabled, you can easily email or print invoices for Complete or Pending Contributions from a contact's Contribution Tab.
- Go to Contact's Contribution tab
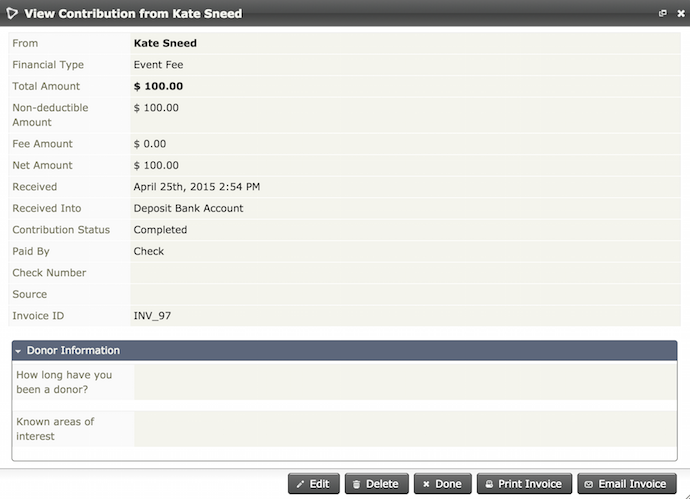
- View the record you want to create an invoice for
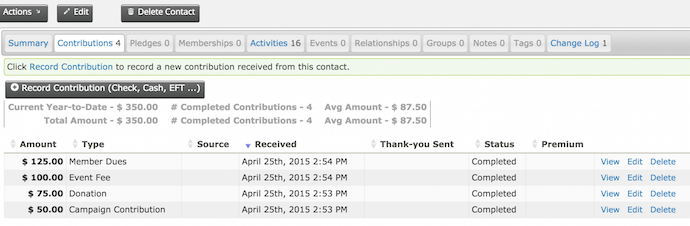
- Once you are viewing the record you have the option to Print Invoice or Email Invoice. Printing an Invoice will download a pdf and Emailing an Invoice will provide an additional Options screen.
-
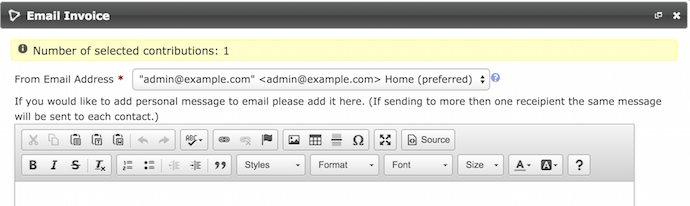
Once you have chosen the Email Invoice option you have options before sending:
-
From Email Address
-
Type an additional message
Note
When you send an invoice by email it is not possible to add CC / BCC. If you do want to have the possibility to CC/BCC (although with explicit fields, not implicit), there is an extension for that: invoicehelper.
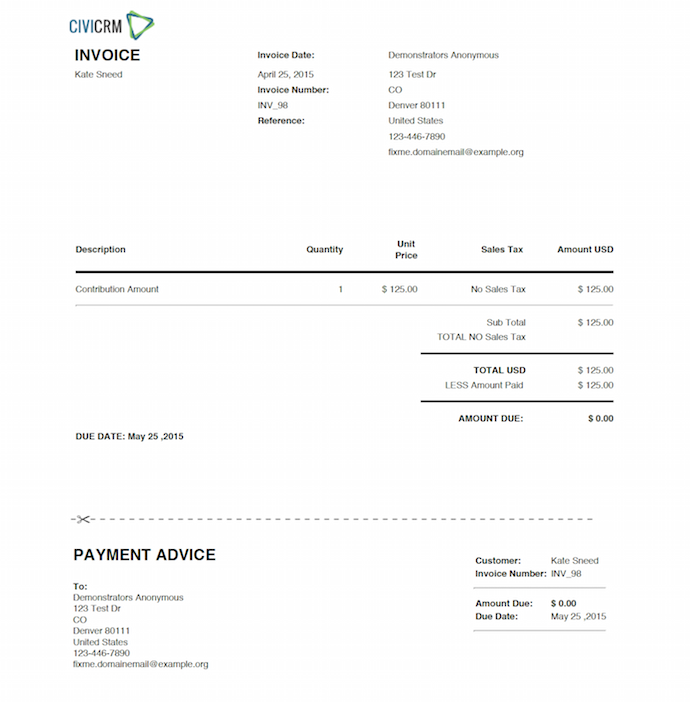
Here is an example of a printed invoice. Invoices can be customized.
Invoice Customization
The out of the box template code populates the Company Name, Address, and Website Information listed on the top right of invoices come directly from the Organization Address and Contact Info. To make any edits to this information, you can access it at Administer Console > Configuration Checklist > Organization Address and Contact Info.
The look of the invoice and invoice image can be edited and customized in Administer > Communications > Message Templates > System Workflow Messages > Contributions-Invoice.
To change the image on the invoice you will need to modify the code on line 10, replacing the image source (img src).
<td><img src = "{$resourceBase}/i/civi99.png" height = "34px" width
= "99px"></td>