Set-up
This chapter describes the steps to set up a survey. If you are connecting a survey to a specific campaign, you will want to review the Campaigns section as well.
Creating a survey requires that you use custom data sets to create the questions/responses you want to capture, and then use a profile to organize your questions the way you want them to appear on the survey.
Tips:
-
If you plan on conducting many surveys throughout the year (let's say 20 - 30 surveys in a year) with only a few questions per survey (let's say 3-4 questions per survey), then we strongly suggest that you create ONE custom data set that includes all the questions for each of the surveys. Then you can create individual custom profiles for each survey that pull in the questions that are particular to that survey.
-
If you plan on conducting just a few surveys per year (let's say about 3-4 surveys per year) with the number of questions no more than 10 per survey, then we suggest that you create different custom data sets for each group of questions per survey. Then you can use custom profiles to pull in in the questions that are particular to a survey.
Survey Types
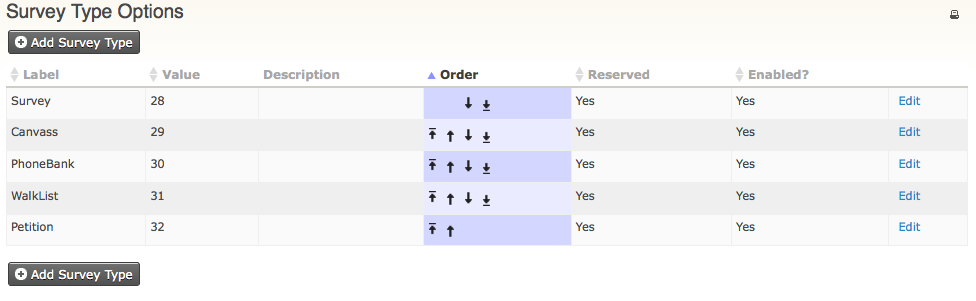
You can create new survey types to describe the type of activity you are conducting. Survey responses will be recorded in an activity record for an individual. The default CiviCRM survey types are Survey, Canvass, PhoneBank, WalkList, and Petition.
To create or edit survey types:
-
Go to Administer > CiviCampaign > Survey Types.
-
Click on Add Survey Type and complete the form.
Creating the survey fields
Once you have determined your survey questions and responses, the next step is to create the custom data fields:
- Create a custom data field set by going to Administer > Customize > Custom Data and clicking on Add a Set of Custom Fields. To learn more about how to create custom field sets (including adding fields with multiple answers), see Creating Custom Fields.
- Create the custom data set(s) so that they are used for Activities. The Activity type must be either/or; Canvas, PhoneBank, Survey, Walklist. Hint: If you plan on doing a PhoneBank and want to do the data entry directly into CiviCRM, then you may want to add the phone number in the profile, and set it to view only, so that you can see the phone numbers when you're interviewing the respondents. Hint: If you are adding a Walklist survey, for each field you might want to add the field label in full but add shorter values. These values are then used in the printed list of Walklist addresses used by the survey collectors. This might make for easier question response recording. So a full question response (the label) might be 'Wrong address' and the value might be 'WA'. See Everyday Tasks for more information.
- Add the questions to the field set and any help text that you wish to provide and click Save to create the field set for the responses.
- You can now either create a profile to hold your questions, from the main profile screen, or you can create the profile when you add your new survey.
Create a new survey
- Go to Campaigns > New Survey.
- Enter a Title for your survey and if the survey is part of a campaign, select the campaign from the dropdown menu.
- Choose the type of Activity (e.g. Canvas, PhoneBank, Survey or Walklist)
- Instructions for Interviews: enter any appropriate information about the survey that would be helpful for the volunteers conducting the survey.
- Maximum Reserved at one time: enter the maximum number of contacts that can be reserved at any one time to be interviewed. This allows you to divide up the group of individuals for each volunteer to interview at one time.
- Total reserved per interview: enter the total number of contacts that can be reserved by any interviewer.
- Release frequency: enter the number of days that reserved respondents are released if they have not been surveyed within that time.
- Click Save, or Save and Next to add questions to your survey
- When adding questions you can add two profiles. One to collect information on the contact and one for the survey questions. In both cases you can either select an existing profile, edit/copy an existing profile or create a new profile. (When you create a new profile within a survey you will be taken to a drag and drop profile builder screen. Here you can select any individual or activity standard or custom field and add them to your profile. Fields can be renamed, the order and other field settings can be changed and you can also name the profile.)
-
Survey Results are used to record and track the status of each completed survey (e.g. Completed, No Answer, Call. If you have created an earlier survey with a survey Result Set you want to use again, select the appropriate Result Set. Otherwise, click Create a new result set and enter the status results you want to track for responses to the survey, for example: 'Completed, Not Home, Moved, Wrong Address, Deceased'.
Hint: The Drupal CiviEngage module creates Survey Default Result Set Options to help you track the status of the responses to the survey if appropriate (e.g. Completed, Moved, Wrong Number, Wrong Address, etc.). See the Setup chapter in the Civic Engagement section of this book.