Online membership sign up
This chapter explains how to allow visitors to your website to sign up as members of your organisation. It looks at the steps necessary to create membership sign up pages, some things to consider when doing so (including testing your membership pages), and the ways in which you can integrate membership sign up pages into your website.
Before reading this chapter, you may wish to read Defining Memberships, which gives useful background to many concepts like membership types and membership statuses.
About membership sign up pages
Membership sign up pages are created in the same way as online contribution pages. In essence, you create an online contribution page and then add to this page the ability to sign up for a membership. The reason we do this is because the actual work flow for becoming a member of an organisation is normally quite similar to the work flow for contributing money to an organisation, and tying them together allows membership pages to take advantage of a lot of the functionality that contribution pages have, for example, we can offer premiums as part of the membership sign up.
Note that even if your membership is free, you should still use a contribution page for online sign up (see free memberships below for instructions on how to do this).
Contribution pages are very powerful and have a lot of options that are grouped together into tabs.
Instructions for creating contribution pages are in the online contributions section of the contributions chapter. Once you have given your contribution page a name, these tabs are displayed at the top of the page as you work through the rest of the set up process.
In this chapter, we concentrate on the tabs and options of contribution pages that are most useful for memberships. A couple of tabs that are worth highlighting include the Memberships tab, which contains the bulk of the membership configuration, and the Profiles tab, which allows you to collect information about the people or organisations that are filling out your membership form.
We recommend you also review the chapters on creating online contribution pages which will give you a better understanding of all the tools you have at your disposal when creating membership pages.
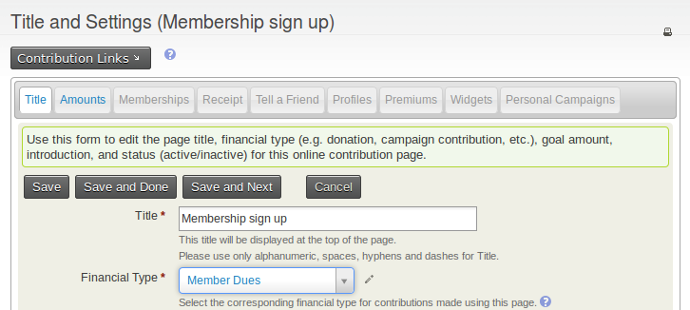
The Title tab
The title tab (which is also the first page that you see when you create a new membership page) allows you to set the title for the membership page and set some basic information like the Financial Type etc. that will be recorded for memberships that are made through this page.
This tab also has space for you to include an introductory message to be displayed on your membership page. You can include images and other simple HTML in this introductory text.
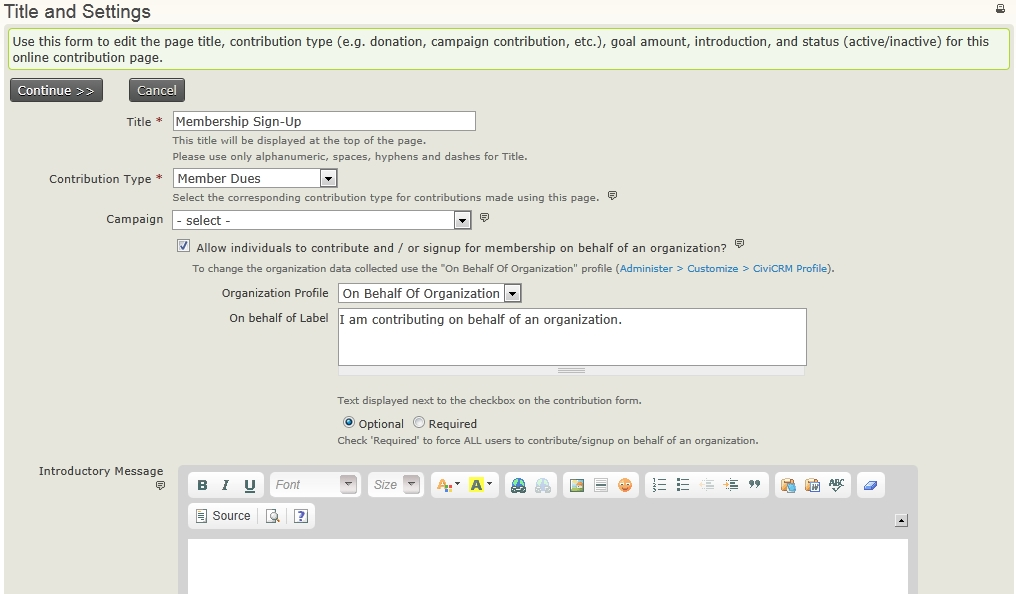
Organisational memberships
The title tab contains a check box to allow people to become members on behalf of an organisation, which is the recommended way to offer organisational memberships. When enabled, you are prompted to select a profile that will be used to collect organisational information. Organisational sign up can either be optional or required.
The Amounts tab
The amounts tab allows you to set various financial options, including the payment processor that is used on the page. Note that you can select more than one payment processor which will give people who are signing up a choice.
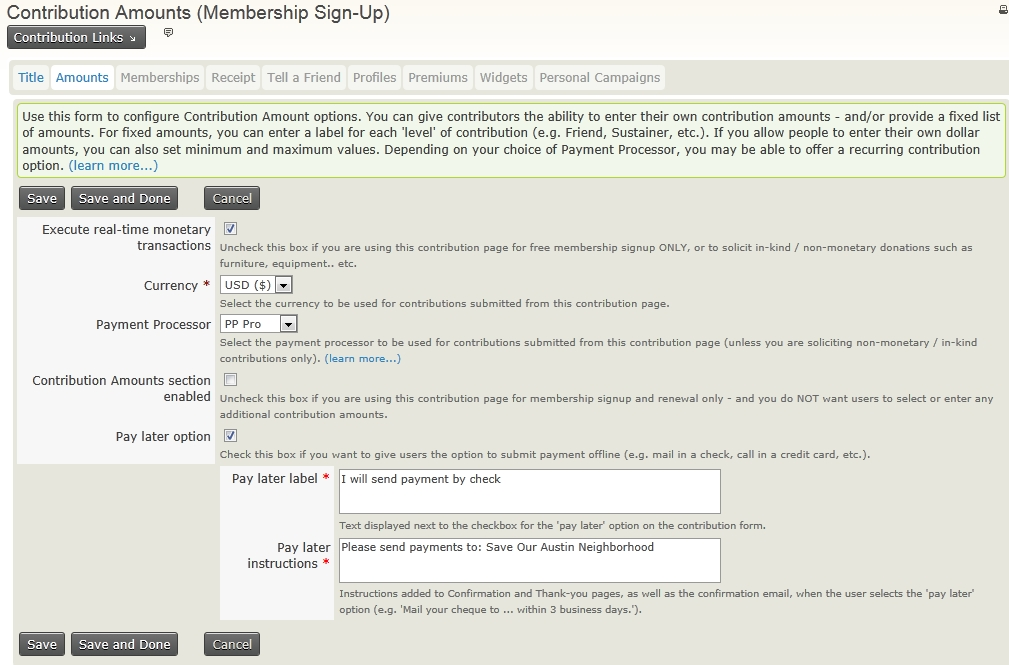
Note that the amounts tab is not the place where membership fees are configured - they are configured on the Memberships tab. If you want to use this page for collecting membership amounts and do not want to solicit extra contributions, leave the Contribution Amounts section enabled checkbox unticked. If you do want to solicit contributions on top of membership fees, then tick the box and either add some suggested contribution options or configure a contribution price set.
Free memberships
If you are offering free memberships, you should leave the 'Execute real-time monetary transactions' box unticked and choose a membership type with a zero value minimum fee.
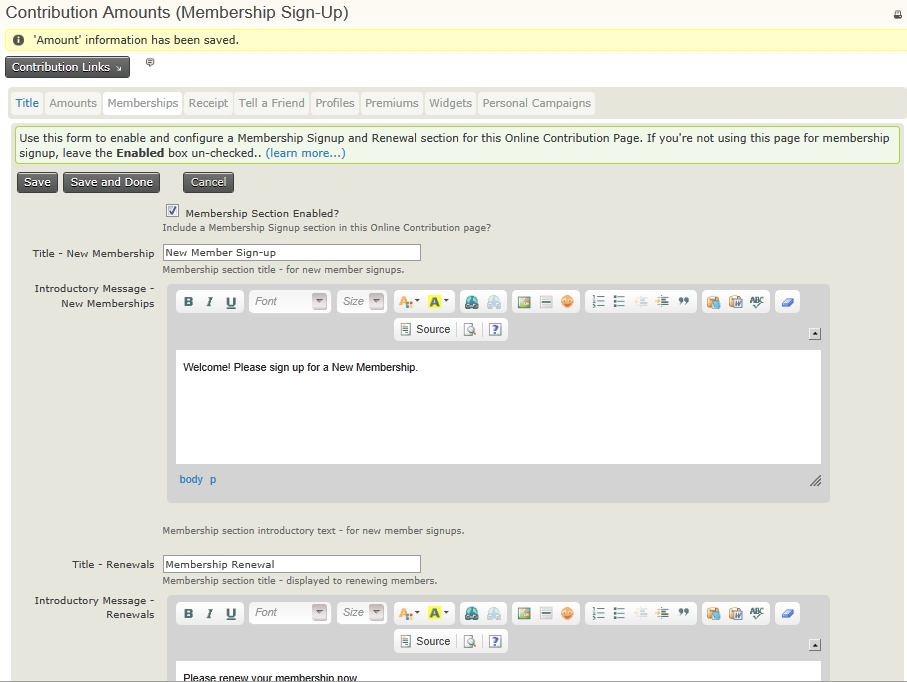
The Memberships tab
Since we are using this contribution page for membership sign up and renewal, we need to check the Membership Section Enabled to use this contribution page for memberships.
The first few boxes allow you add text that will be displayed when this page is used for initial membership sign up and for renewals. When a logged in user with a current or expired membership views the membership sign up page, CiviCRM automatically replaces the membership sign up page with a membership renewal page which contains the text from the renewals box.
After the text boxes, are a few options that you can use to configure the membership types available on the membership form.
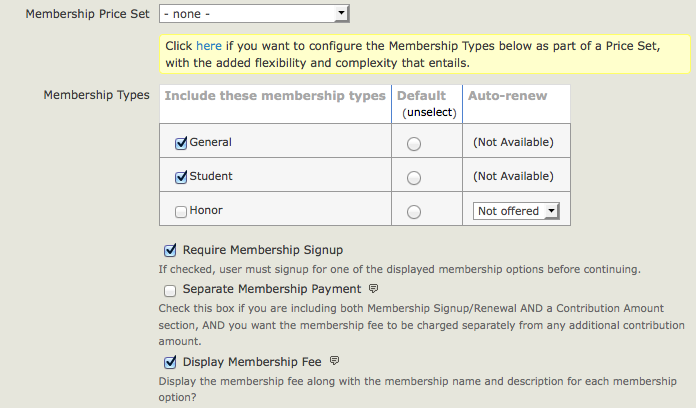
Looking at the simple use cases first, you select which membership types should be available on the page, which should be the default, and which can be auto-renewed (you'll need to have set up your membership types as auto-renew and have a payment processor that supports automatic recurring payments).
If you enable auto-renew for a membership then on the web page users will see "Please renew my membership automatically. (Your initial membership fee will be processed once you complete the confirmation step. You will be able to cancel automatic renewals at any time by logging in to your account or contacting us.)" Membership payment receipt emails will include a link for the member to cancel the auto-renewal.
If you want, you can make membership signup optional. This is often useful if you have a contribution page on which you want to offer the ability to become a member, but not require it (you will need to check the box for "Contribution Amounts section enabled" on the Amounts tab). You can decide whether such payments are recorded separately from membership fee payments.
If you cannot accomplish what you need using the Membership Types table (for example if you want to offer sign up to two memberships at the same time, or offer sign ups with multiple membership terms), then you should use a Membership price set.
Some of the things you can do with price sets include:
- allow users to sign up for multiple classes of membership (e.g. national and local memberships) at the same time
- let people sign up for multiple membership terms at the same time
- offer other options such as a paid subscription in addition to membership signup
The Receipt tab
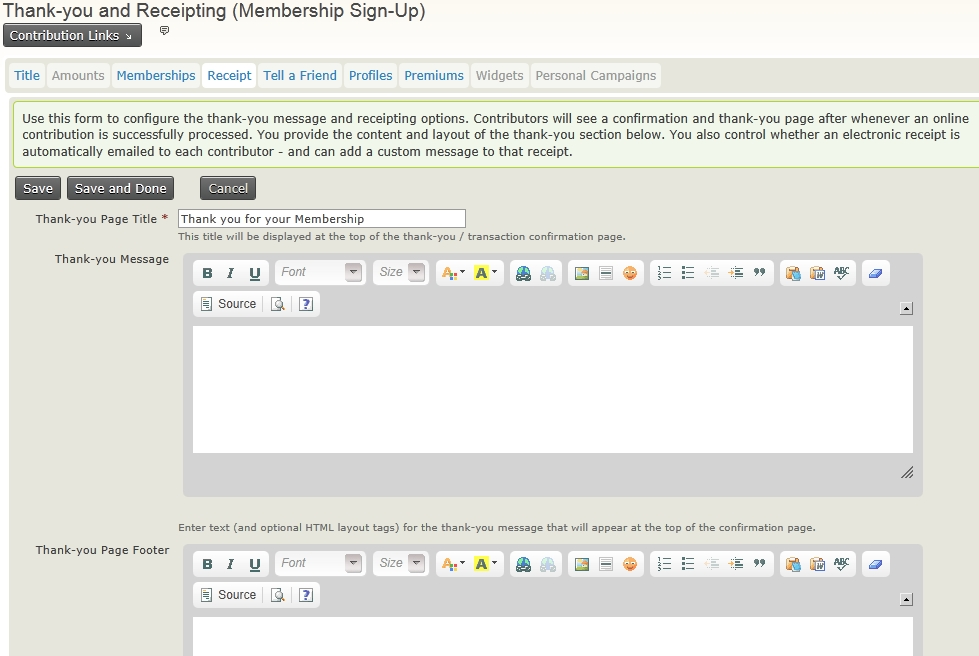
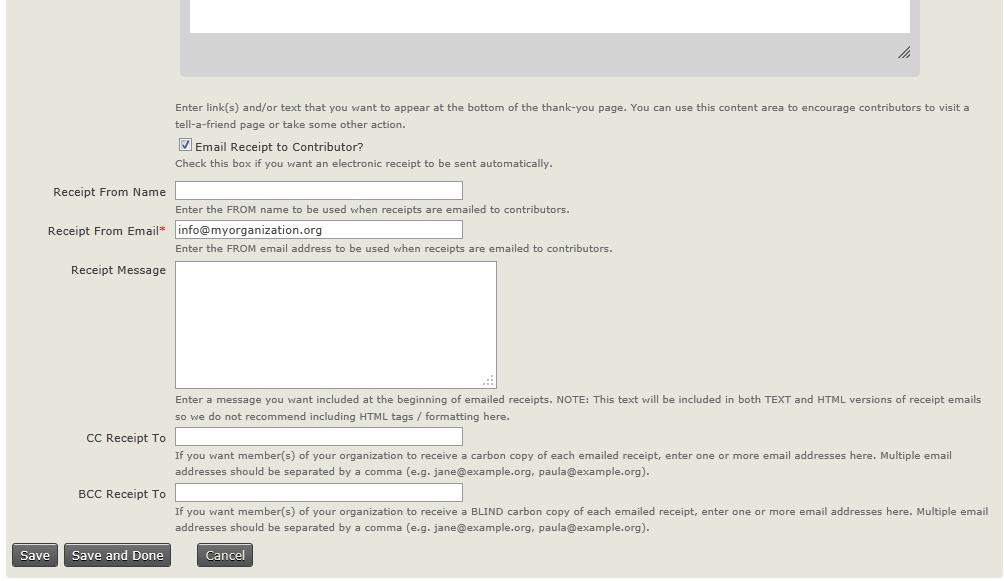
After the site visitor completes the membership signup or renewal form, they will be redirected to a thank-you page and can have an email receipt generated and sent to them. This fourth step in the wizard allows you to configure those options. You can customise the message that gets added to the membership receipt on this page, and the email address that the receipt will come from. If you want to further customise the receipt email template you can do so using the Mailings > Message templates screen.
Email alerts for memberships
Add one or more staff emails to the CC Receipt To or BCC Receipt To fields if you want real-time updates on who has processed a membership. Enter one or more email addresses separated by comma.
Warning
Make sure that the email addresses entered into the CC Receipt To and BCC Receipt To fields are correct and do not bounce or return an error email. Any return emails received by CiviCRM will be interpreted as a bounce for the CiviCRM Contact that the receipt was sent too and not as a bounce for the CC/BCC email address. This can have the adverse impact that the CiviCRM Contact's email address is put On Hold and cause future emails to not be sent. For more details see this issue report.
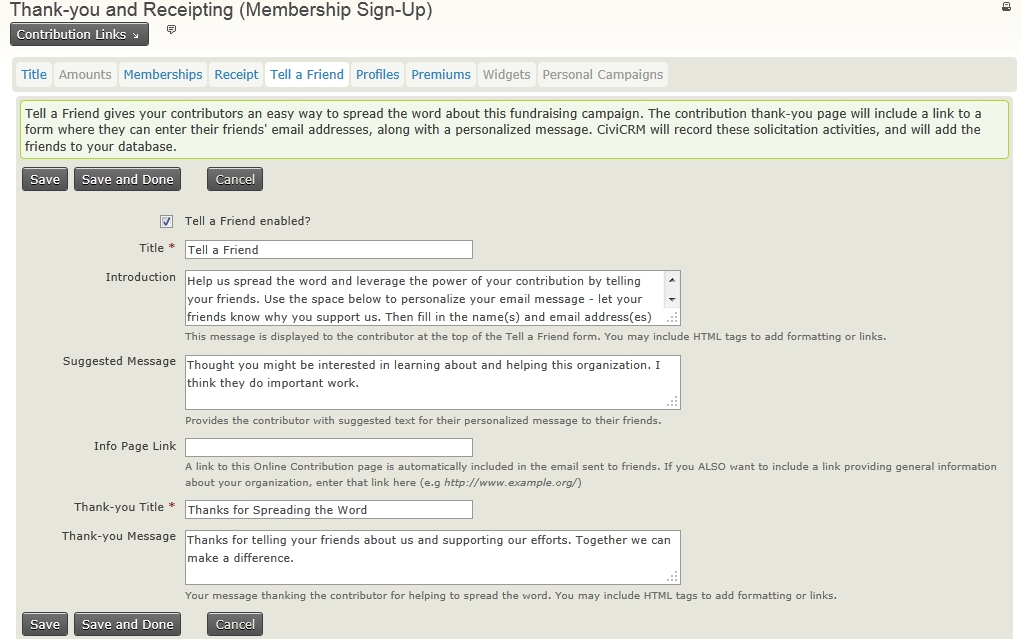
The Tell-A-Friend tab
CiviCRM allows you to add a tell-a-friend feature to the thank-you page. The page lets your members share details about your organization with their friends by emailing them a link and information. Those friends that are told about the membership sign up will also be added to CiviCRM if they do not already exist and their source field will show that they were added via tell-a-friend.
Collecting information as part of membership sign up (the Profiles tab)
You can use profiles to collect information about your members as they fill in the sign up form. By default, contribution pages will include only an email field. Adding a profile to the contribution form will add a collection of fields that CiviCRM will display as part of the membership sign up form. You can use profiles to collect extra information about the contact, for example their address, their interests, etc. If the person signing up to become a member is logged in, their profile fields will be populated with data from CiviCRM where available. Don't add a membership profile. Collection of that information occurs automatically during the online membership sign up process.
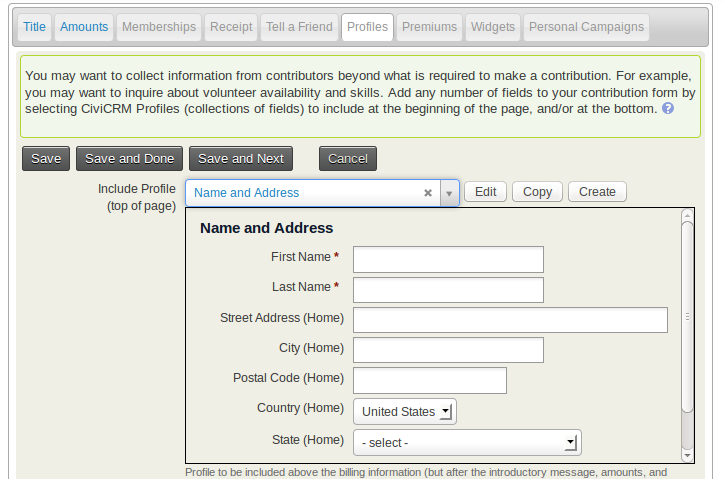
The profiles tab allows you to select an already existing profile to include on your membership page, and if you have permission, to edit an existing profile or create a new profile to be included on this page.
Warning
If you edit an existing profile here, it will be changed in all places where that profile is used.
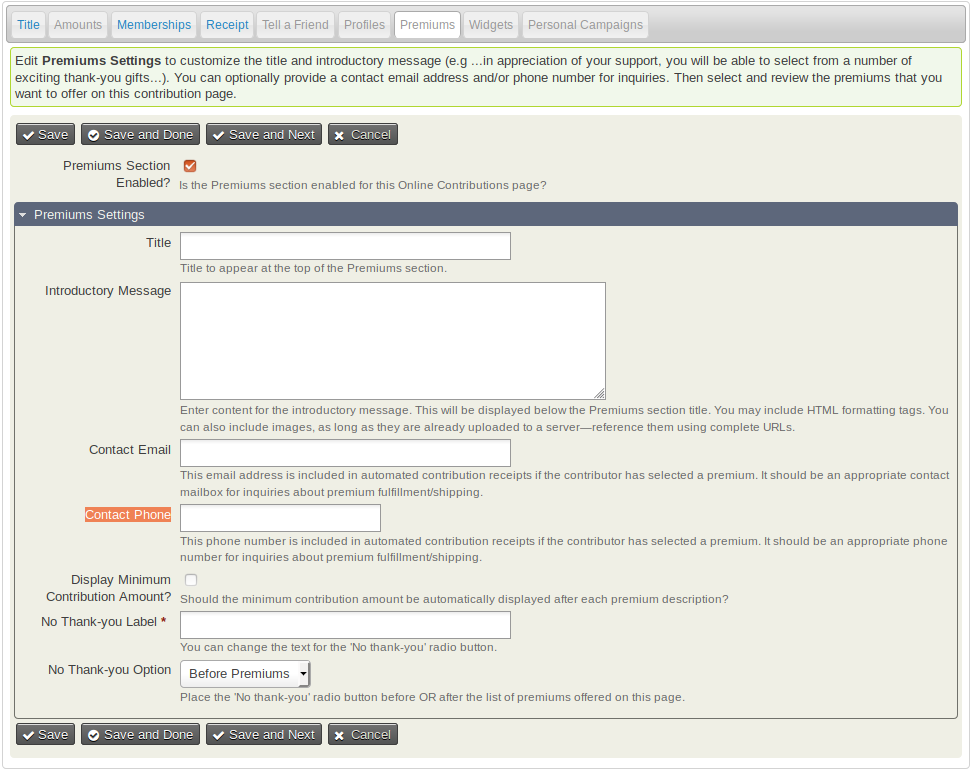
Premiums tab
Premiums are thank you gifts and incentives offered to people that donate to your organisation. They are most commonly associated with tiered donation levels (e.g. donate $50 to receive a T-shirt) but can also be used in conjunction with your membership pages. Before including premiums on a contribution page, you must configure them through Contributions > Premiums (Thank-you Gifts).
The Premiums tab of the contribution page wizard controls the introductory text, contact information, and other premium-related details.
Testing membership sign up pages
Once you finish configuring and setting up your membership page, you are advised to test drive the process to make sure everything is working according to your expectations. Test functionality is available on Contributions > Manage Contribution Pages, click Links next to your membership sign-up/renewal page and click Test-drive. Any membership data you send through the form in test mode will be added to CiviCRM as test data and not be included in any membership stats or when searching for members, etc. If you want to find and delete test memberships, you can do so by clicking the is test check box in Find Memberships.
Try and put yourself in the eyes of someone who wants to become a member of your organisation and go through the process a number of times, with different combinations of fields each time. Make sure that the data all appears as you would expect in CiviCRM. Once you've tested the process and have made any necessary changes, get other members of staff or friends from outside your organisation to test the process.
When using the Test-drive Registration option, you see the same registration pages as a regular user, but the online payment isn't really debited from your card (see Payment processors for more information on dummy processors and card details you can use for test transactions).
It is worthwhile to periodically test and review your membership process to make sure that it is as smooth as possible. You will receive indirect feedback from your members as they use the form. If they are not entering data in the way you intended then you will need to make some changes. From time to time, you may want to solicit direct feedback from people who have recently become members to see how easy it was for them to become a member and ask their opinions on ways in which you could improve your form.
Adding membership sign up pages to your website
Once you've made your contribution page, you need to make it visible on your website. The method for this depends on the CMS. Instructions for each CMS are below.
Membership sign up pages are built to inherit your website theme and should look reasonably nice out of the box. You can include images on the HTML text areas in the page to make them look more attractive. Many organisations want to spend time improving the look and feel of their membership pages in order to increase membership sign up rates. The methods for changing the design of these pages are outside the scope of this book but a website designer who is familiar with your CMS and CiviCRM will be able to help.
In Drupal
Go to Contributions > Manage Contribution Pages, click Links next to your membership sign-up/renewal page, click Live Page to view the finished page. You can then copy the URL and include it in a content page or assign it to a menu item.
In WordPress
Go to Contributions > Manage Contribution Pages, click Links next to your membership sign-up/renewal page, click Live Page Copy the URL and insert it into an HTML link or menu.
Or use a plugin such as Page Links To create a URL 'slug'.
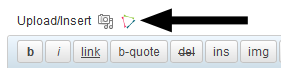
Or click the WordPress shortcode icon to insert a form into any page or post.
In Joomla!
The most direct way to expose your membership signup/renewal page to the front of your website in Joomla! is by creating a menu item.
- Navigate to a menu and create a new CiviCRM item.
- From the list of menu options, choose Contributions.
- In the basic parameters section, select the contribution page you would like exposed from the dropdown menu.
- Save the menu item and view the website to confirm the page's functionality.
Permissions needed for online membership sign up/renewal.
Anonymous and Authenticated roles need the following CMS permissions to be able to join or renew online:
- Profile listings and forms: This will let you collect core contact information ( name, address etc.) when people sign up.
- Access all custom data: You must enable this permission to collect custom data.
- Make online contributions: This permission must be granted unless your memberships are free and you have no interest in accepting donations when people sign up or renew.