1.0 Basic Webform
Create your webform as shown in Getting Started
CiviCRM Configuration Form
Now we need to add elements, but we're going to do this within CiviCRM
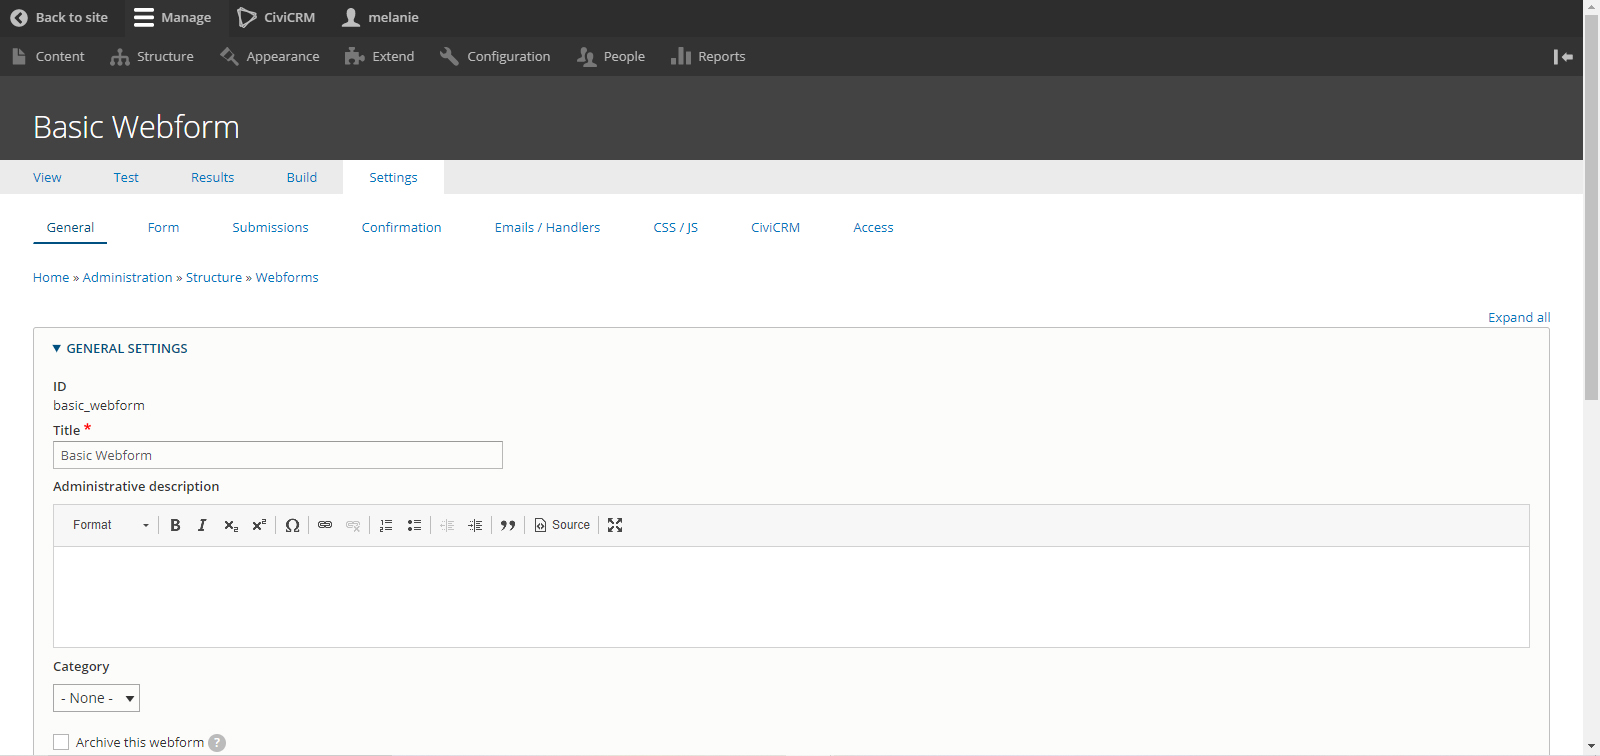
Click the settings tab & you’ll see a page similar to this:
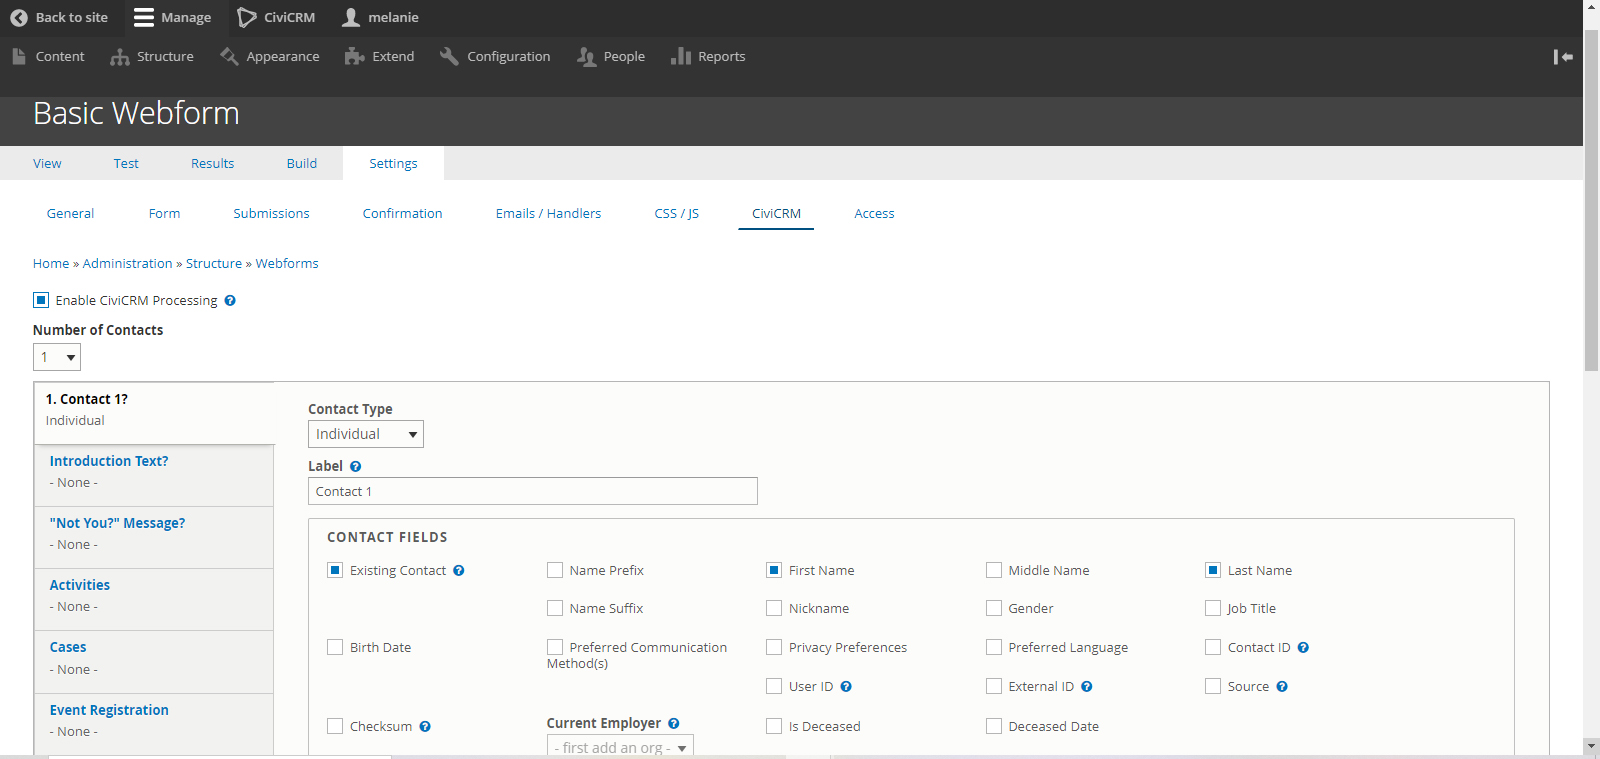
Next, click the CiviCRM tab and select the box at the top that says Enable CiviCRM Processing
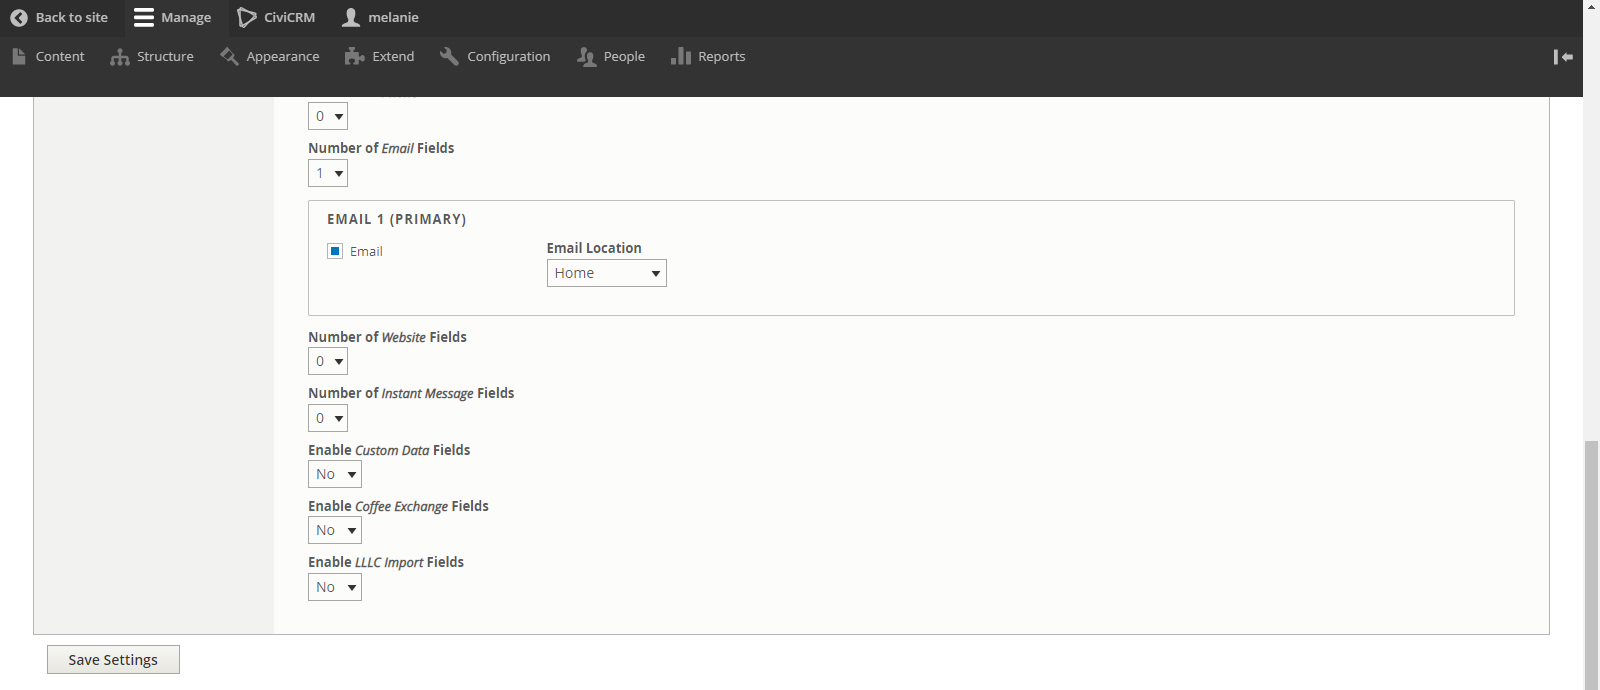
When we enable the CiviCRM Processing – it activates a series of questions and what type of information we want to collect.
For this first webform, we want to collect the following information: First Name, Last Name, Email Address
So our number of contacts is 1, and our Contact Type in this case is Individual.
In our Contact Fields we have the fields First Name & Last Name selected.
We scroll down for more fields and we choose 1 email field,
Because we want to collect an email address and we will say we are collecting the home email address
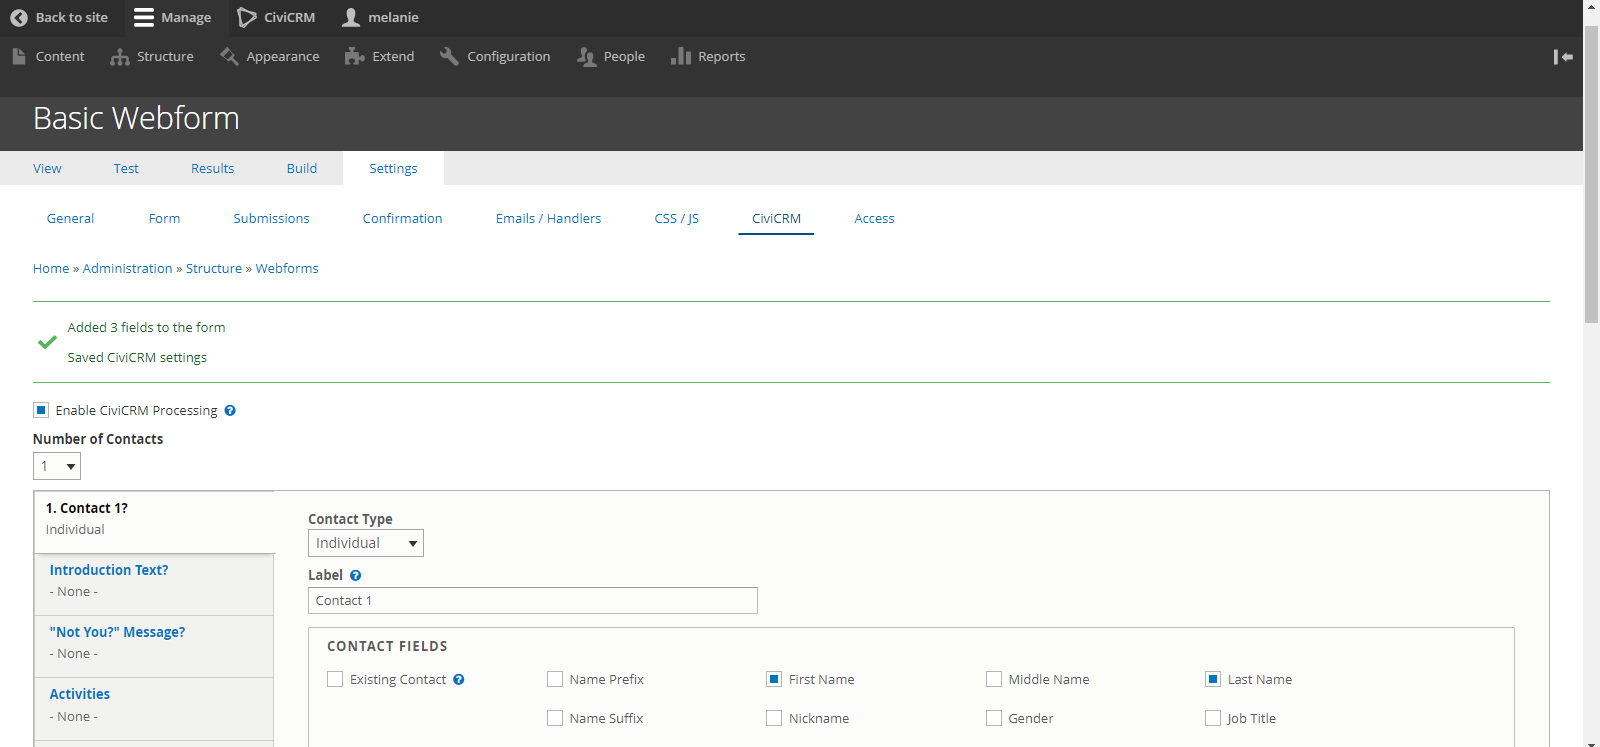
Select Save settings
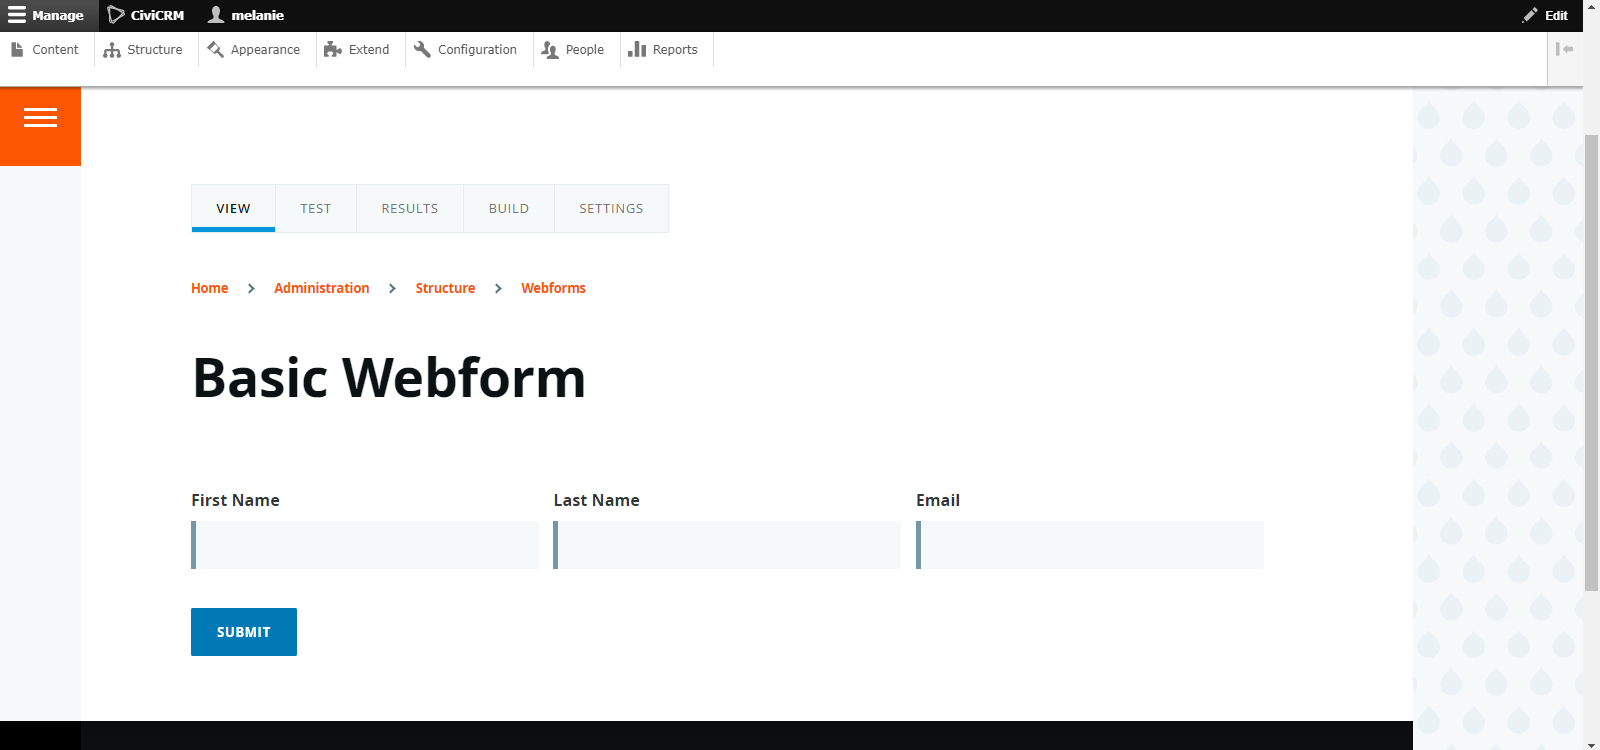
View
Let’s take a look at how the form looks right now. Select View
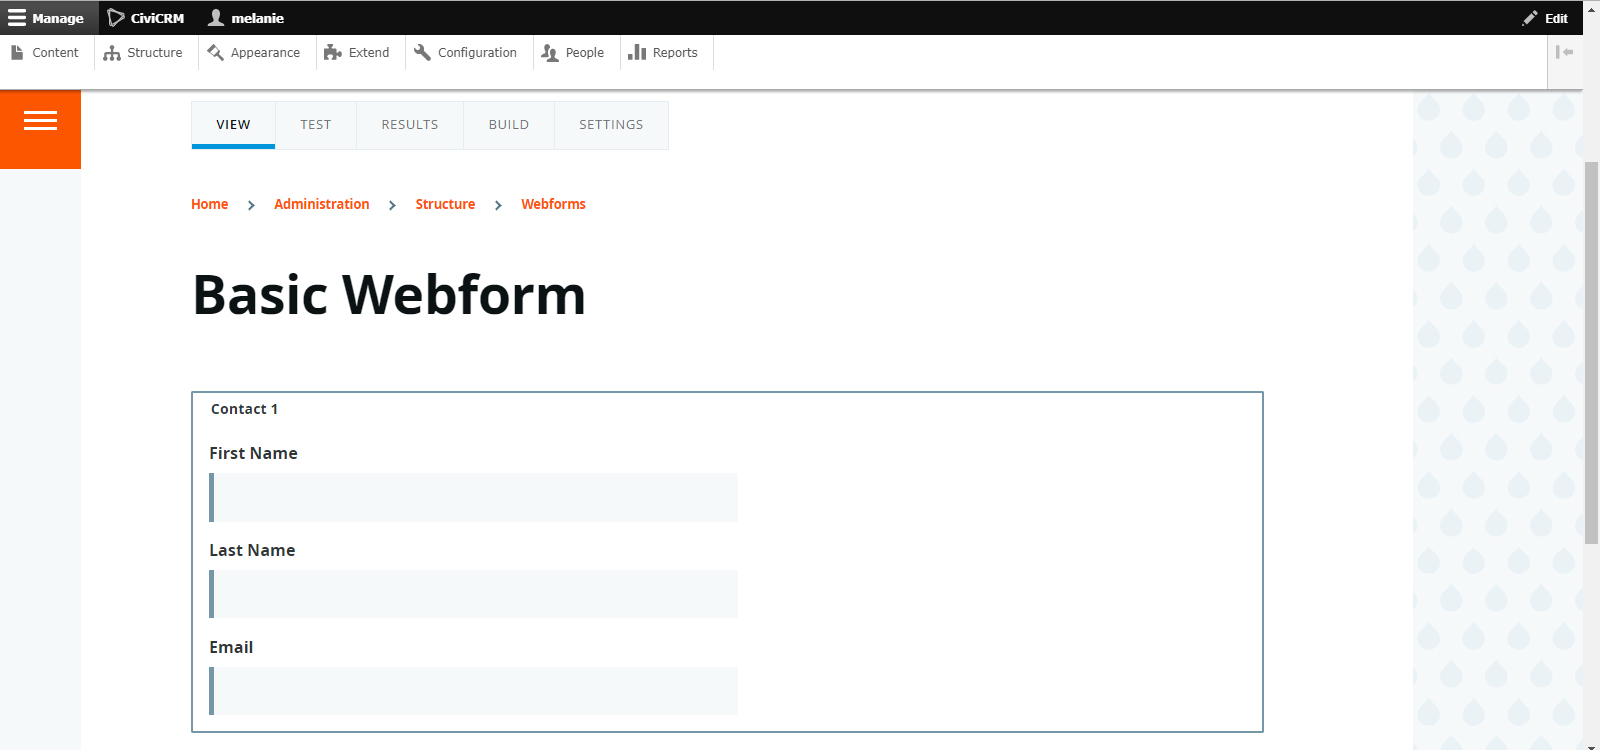
But what if we want to re-arrange how we collect that information?
Build
Click on the Build Tab and let's take a look at our elements
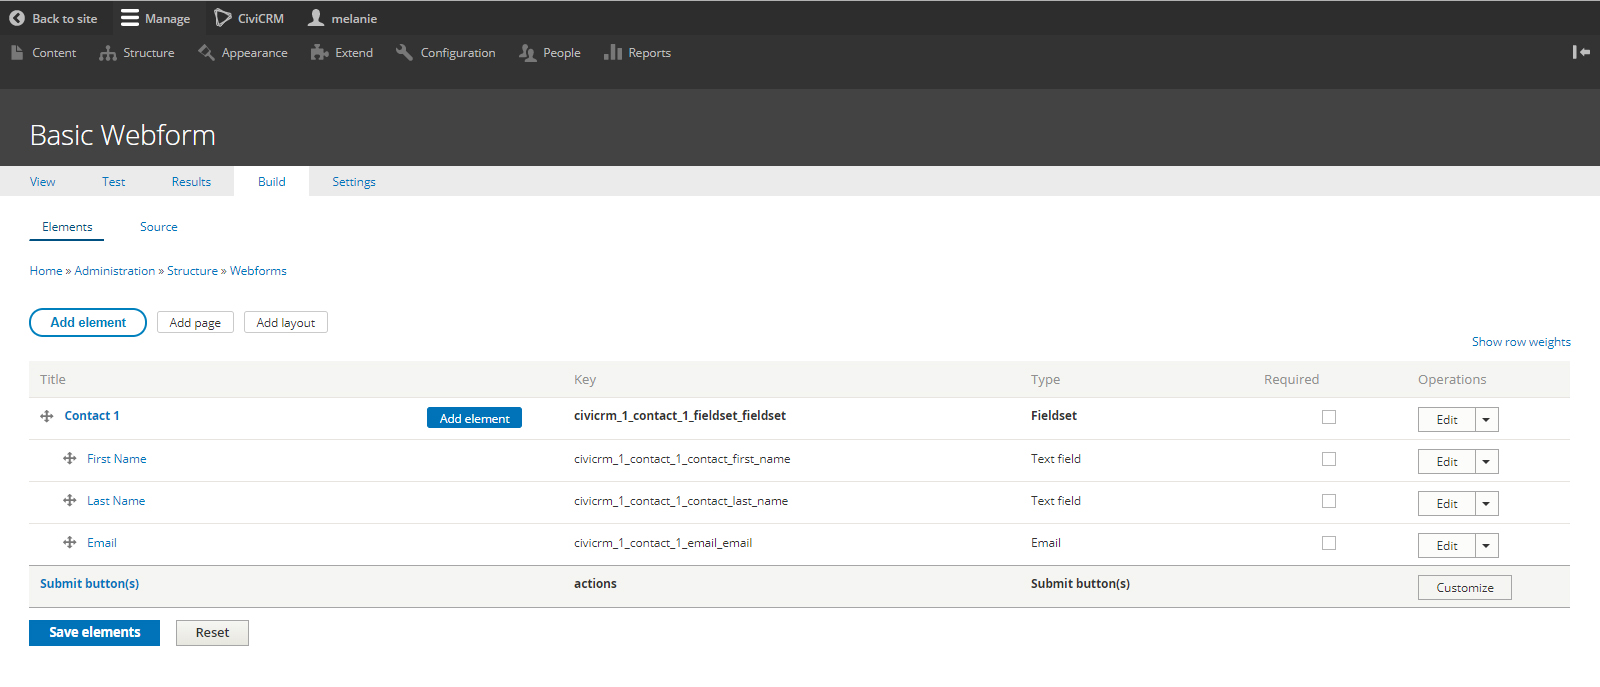
Contact 1 is a field set with 2 text fields (firstname, last name) and an email field.
We are going to add an element called a Flex Box, which will allow us to view our fields side by side.
Click the add element box
Type in Flex in the search box and click on add element
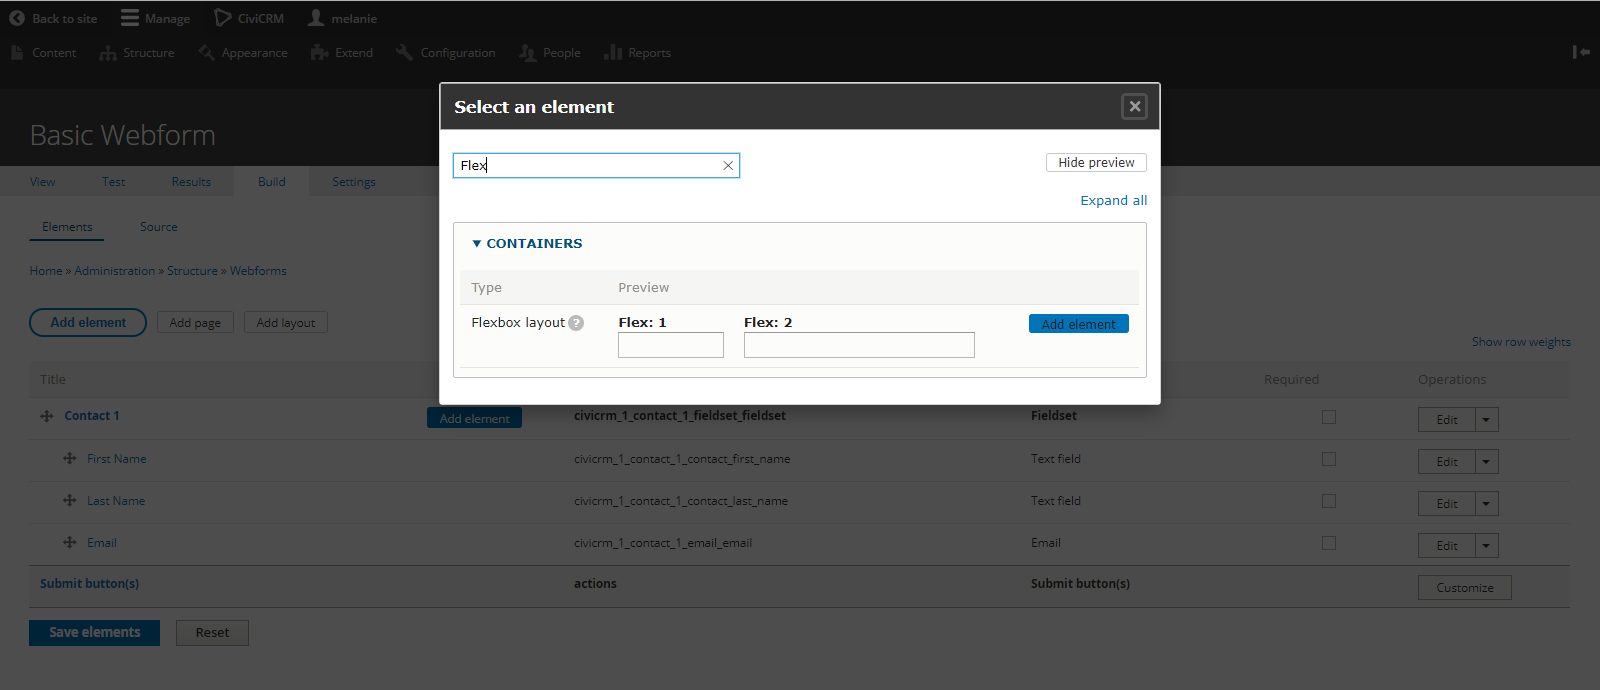
Next, rename the key as contact_flexbox
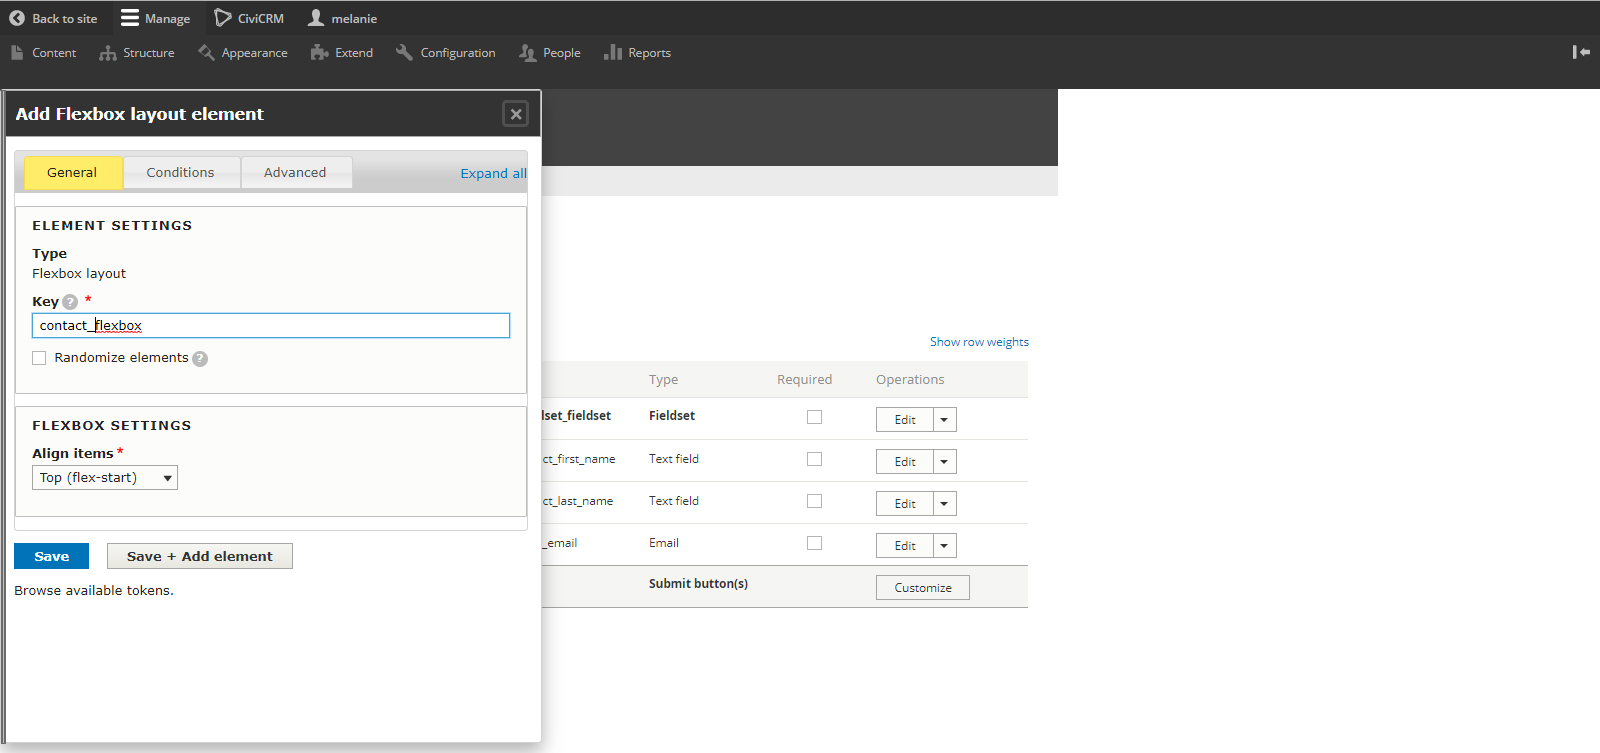
Click save
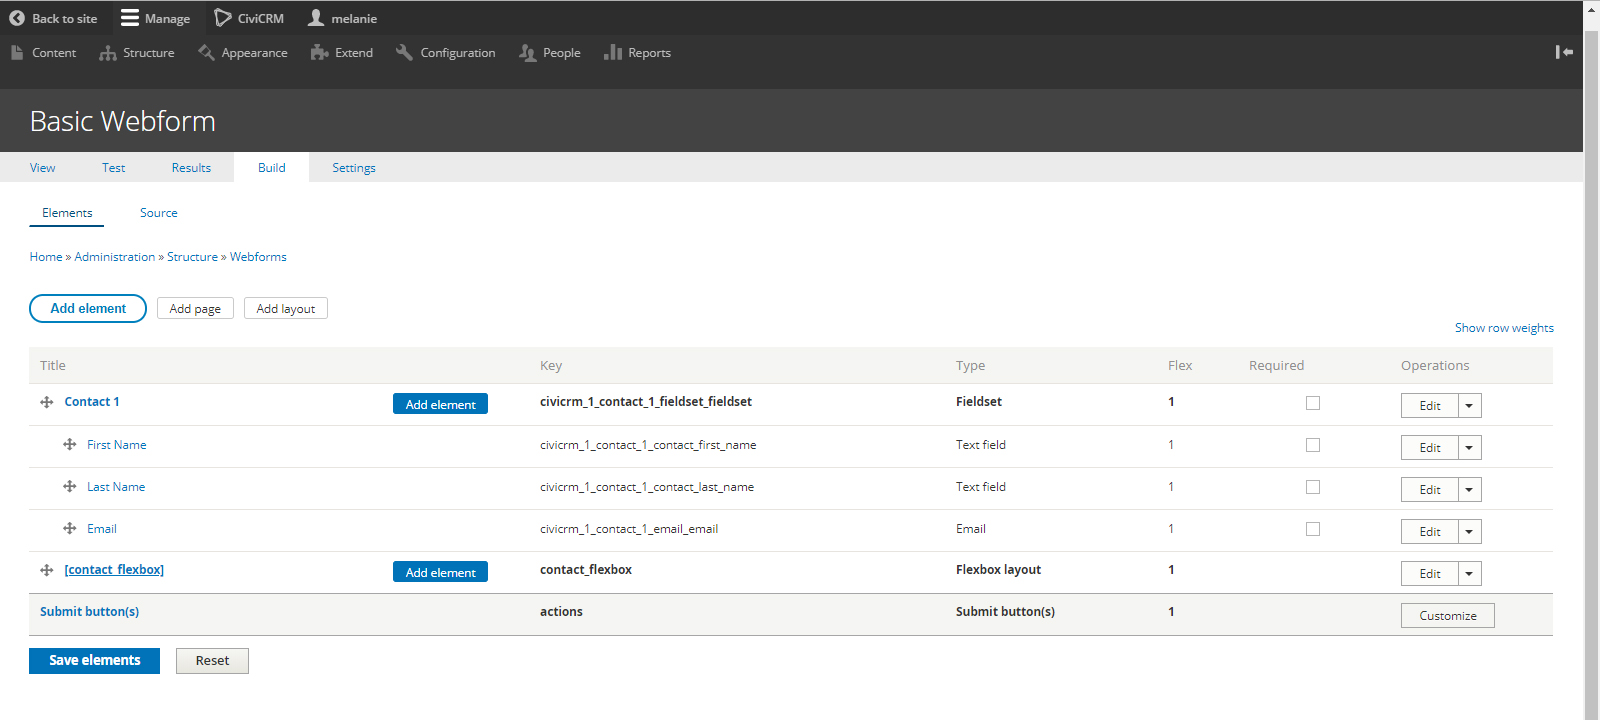
You now have a contact-flexbox. The fields (first name, last name, email) can be added to this flex box by just clicking on the multi-direction arrow on the left
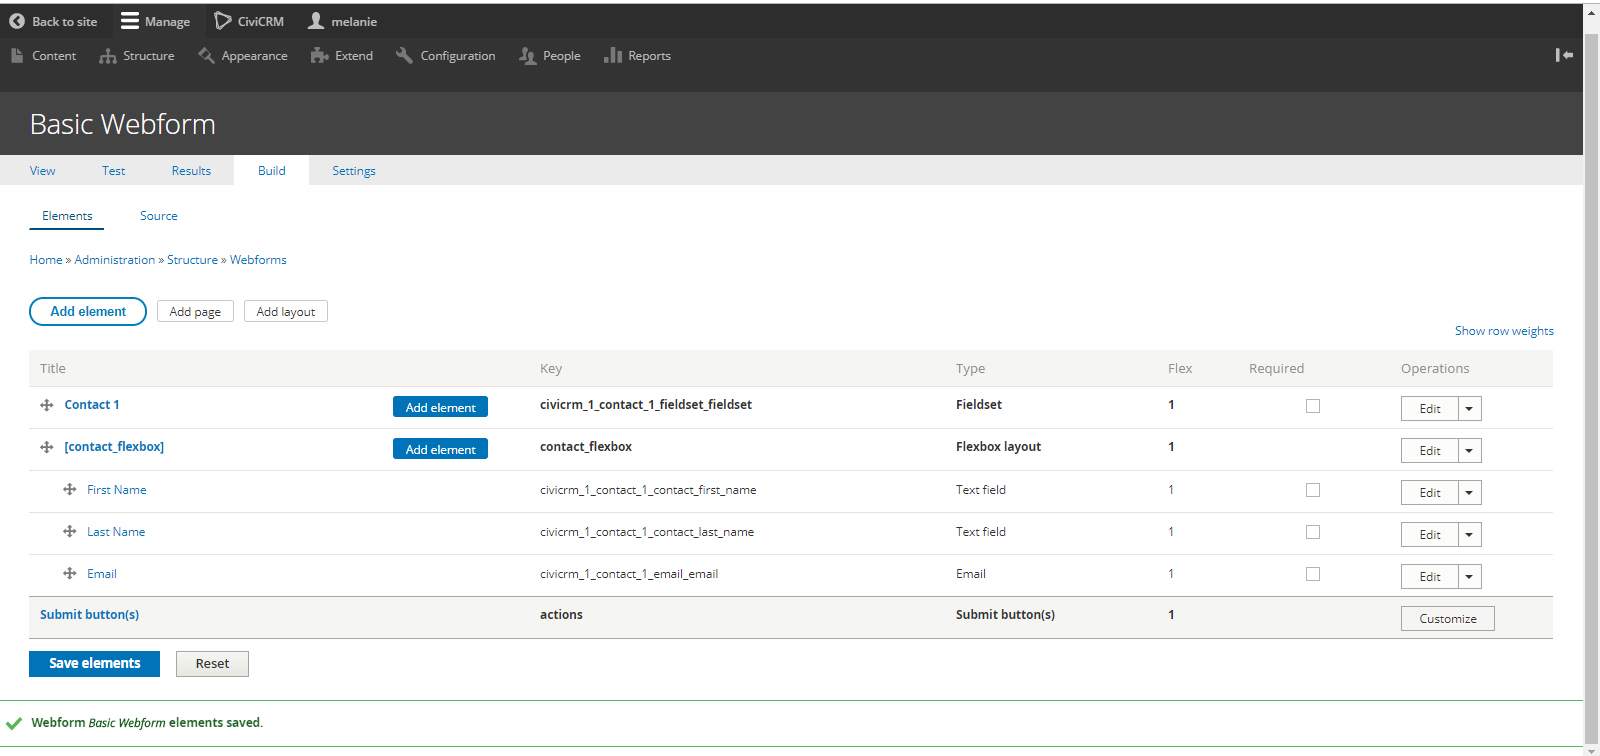
Now you can delete the contact 1 fieldset, by going to the drop down box on the right hand side under operations and select delete.
Now, let’s look at the new view of our webform
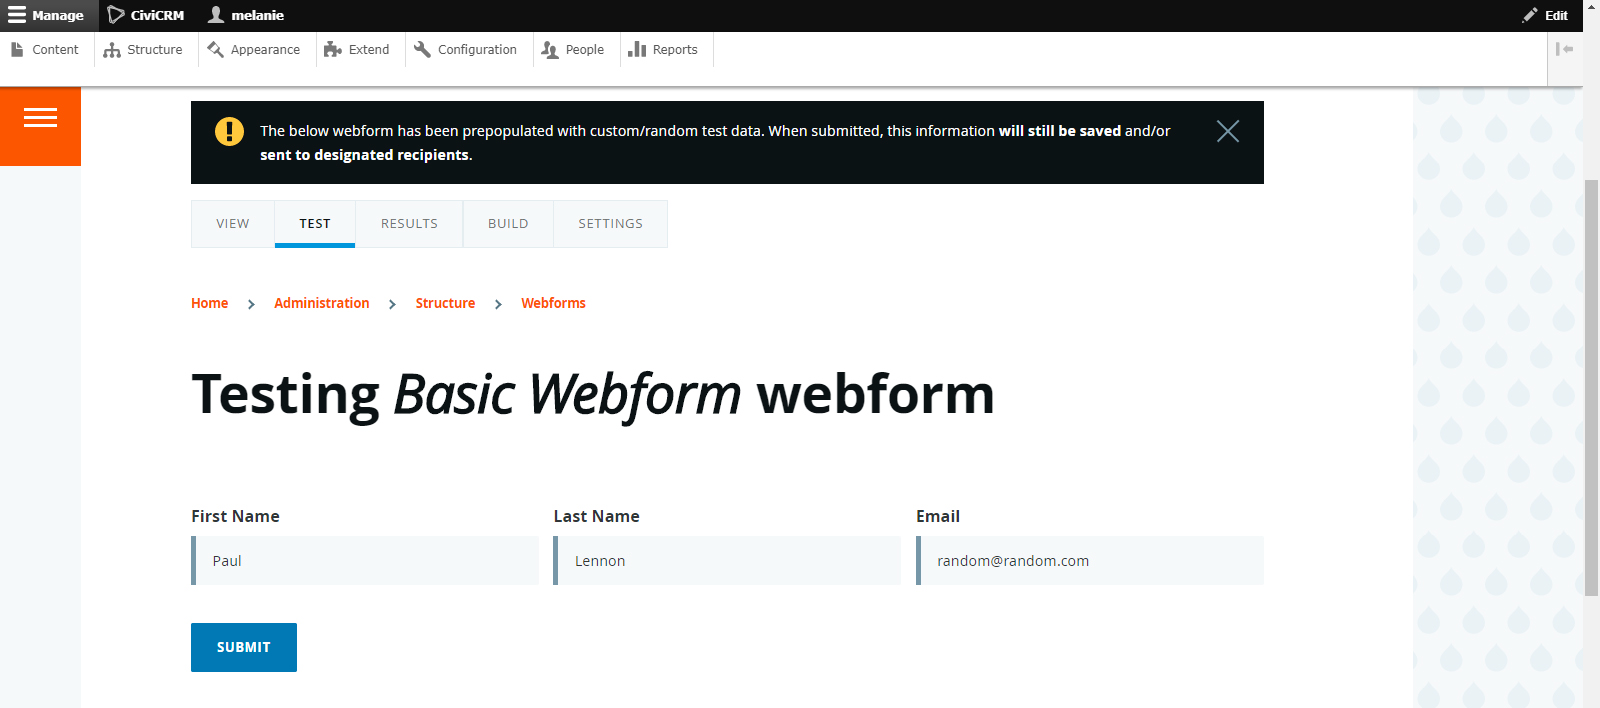
Test
We can then select Test and see how the form will look like when it is filled out. When you hit submit, check your CiviCRM database to see that the data landed in the correct fields.
Form YAML
YAML is found under Build > Source
contact_flexbox:
  '#type': flexbox
  civicrm_1_contact_1_contact_first_name:
    '#type': textfield
    '#contact_type': individual
    '#form_key': civicrm_1_contact_1_contact_first_name
    '#extra':
      width: 20
    '#parent': civicrm_1_contact_1_fieldset_fieldset
    '#title': 'First Name'
  civicrm_1_contact_1_contact_last_name:
    '#type': textfield
    '#contact_type': individual
    '#form_key': civicrm_1_contact_1_contact_last_name
    '#extra':
      width: 20
    '#parent': civicrm_1_contact_1_fieldset_fieldset
    '#title': 'Last Name'
  civicrm_1_contact_1_email_email:
    '#type': email
    '#form_key': civicrm_1_contact_1_email_email
    '#extra':
      width: 20
    '#parent': civicrm_1_contact_1_fieldset_fieldset
    '#title': Email