Create a dashlet for My Expenses
In this tutorial I will explain how you can create a dashlet with expenses assigned to me.
Requirements
Make sure you have installed the data processor extension.
Create a data processor
Go to Administer > Data processor > Add new. Give the data processor a usefull name and a description.
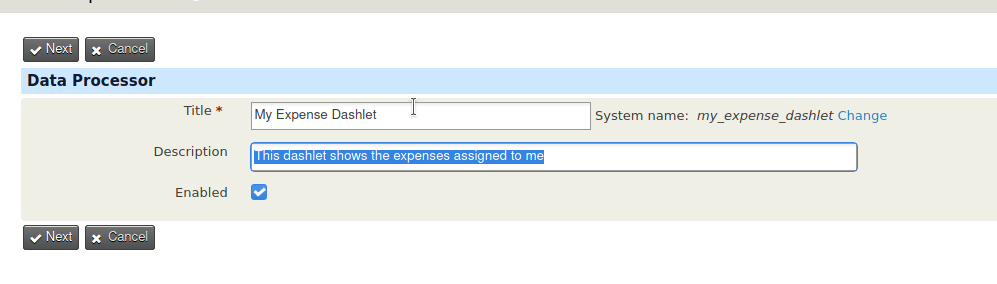
Press Next.
Add the expense data source
In the next screen click on add data source for the expense.

Press Next. There is no need to provide additional criteria.
Note
If you want you can set additional filter criteria, such as only filter certain types of expenses or expenses which have a certain status.
Add filter for current user
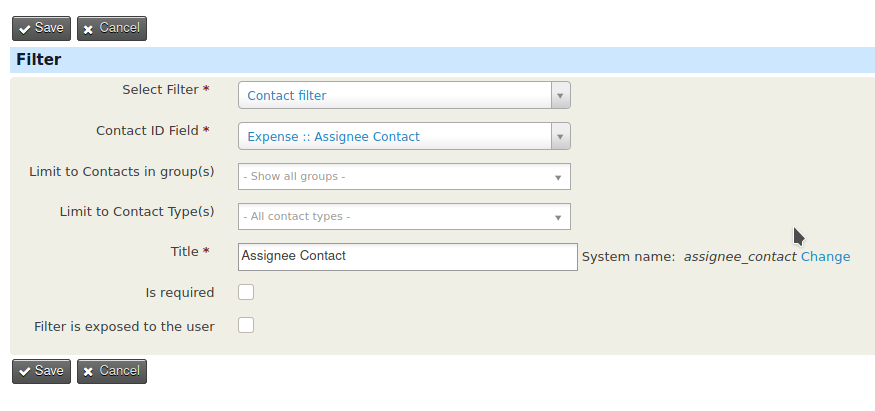
Press Add filter
- Set Select Filter to Contact Filter
- Set Contact Field to Expense :: Assignee Contact
- Uncheck Filter is exposed to user
Press Save.
Note
If you leave the filter exposed to the user this means that the user is able to use this filter. Sometimes this might be useful if you want for example a user being able to search also for expense assigned to a colleague.
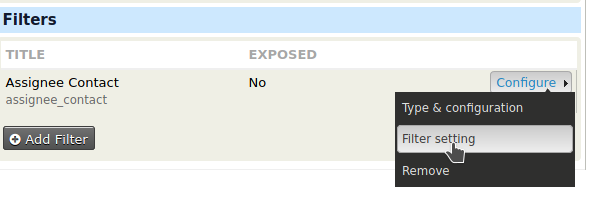
In the next screen click Configure > Filter Settings.
And then set Operator to Current User:
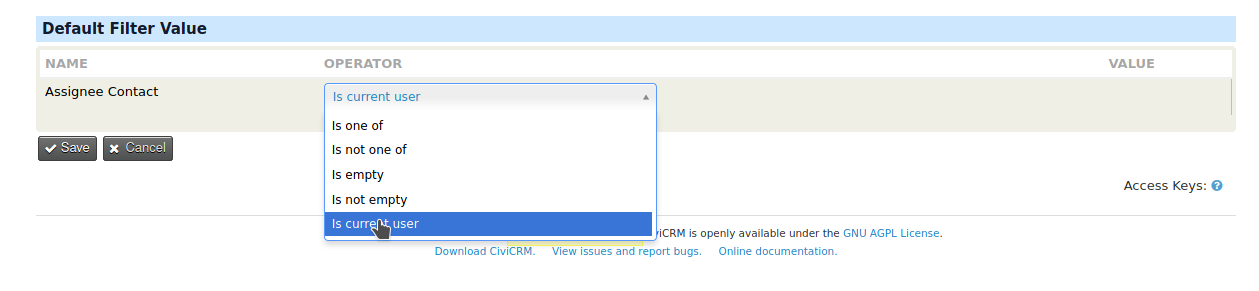
It might be that you have to click on the pencil icon next to the current operator.
Press Save.
Add fields
Press Add Field.
- Set Select Field to Raw field value.
- Set Field to Expense :: ID.
Press Save.
Press Add Field.
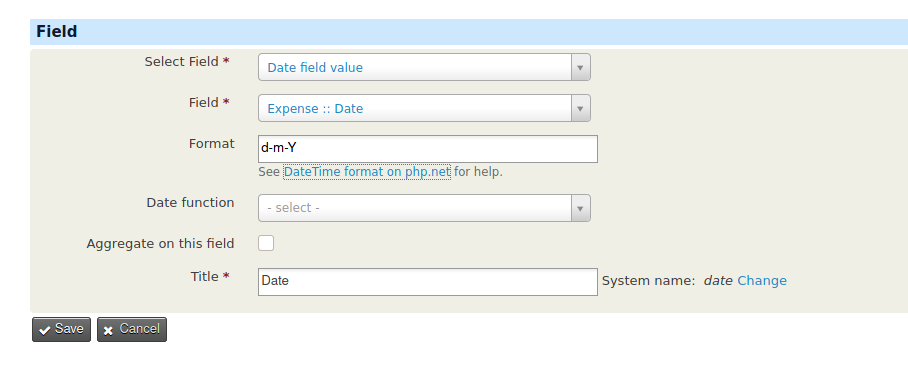
- Set Select Field to Date field value
- Set Field to Expense :: Date
- Set Format to 'd-m-Y'.
Press Save
Press Add Field
- Set Select Field to Option Label
- Set Field to Expense :: Status
Note
The option label field translates a value of the status to its corresponding label.
Press Save
Add link to contact
To show to which contact this expense belong we also have to add the contact data source. Which will allows us to show the name of the contact.
Press Add data source
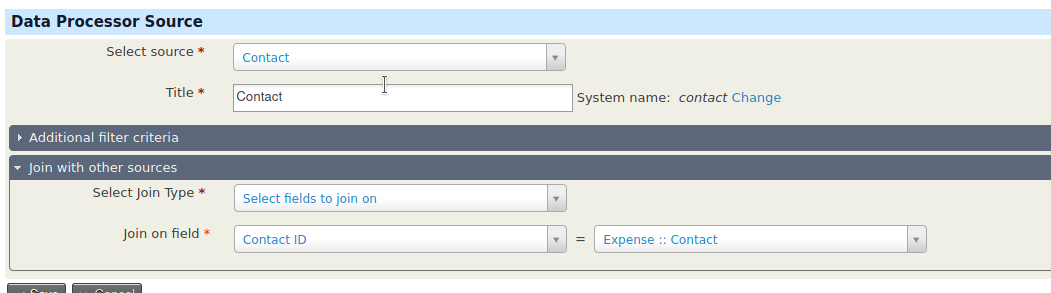
- Set Select Source to Contact
- Set Select Join Type to Select fields to join on
- Set Join on Field to Contact ID and to Expense :: Contact
Press Save
Press Add Field
- Set Select Field to Link to view contact
- Set Contact ID Field to Contact :: Contact ID
- Set Contact name field to Contact :: Display name
- Set Title to Contact
Press Save
Add a field to edit the expense
Press Add Field
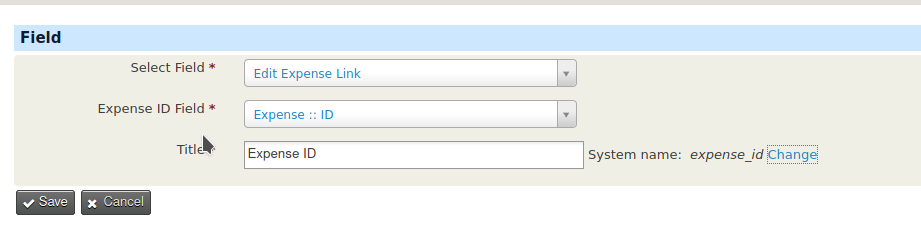
- Set Select Field to Edit Expense Link
- Set Expense ID Field to Expense :: ID
- Set Title to Edit Expense
Press Save
Add the dashlet output
Press Add output
- Set Select output to Dashlet
- Set No result text to No expenses found

Press Save
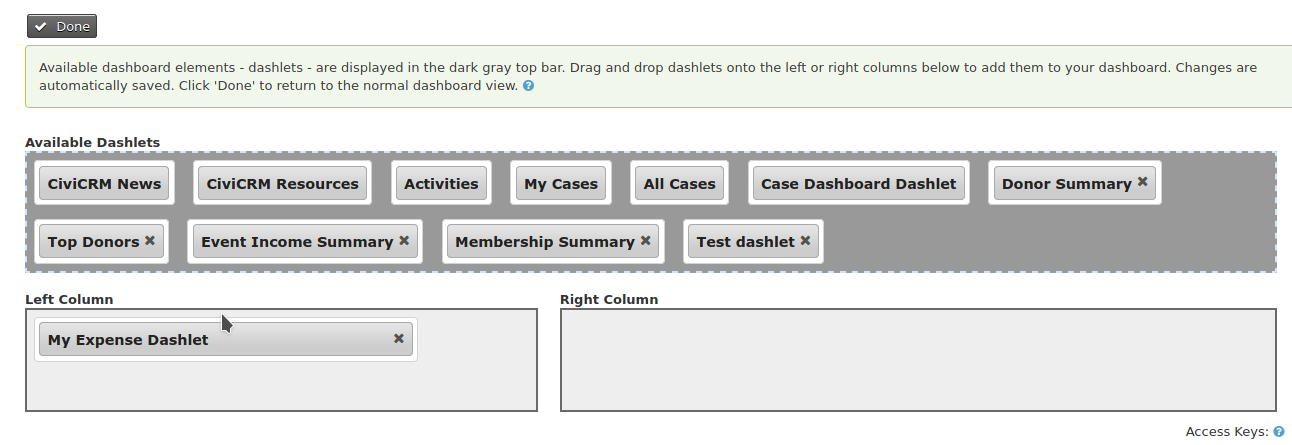
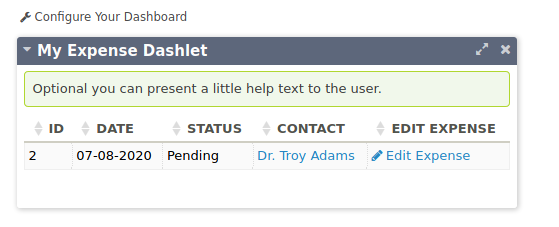
Try out your dashlet
Go to the Dashboard (By clicking on the CiviCRM logo and then CiviCRM Home). Press Configure your dashboard. Add the Expense dashlet to your dashboard.
Add the total amount of the expense
To show the total amount of the expense we have to add the expense line data source so that we can access the amount on the expense line. And we have to aggregate on the expense id.
Aggregate on Expense ID
Click on Configure > Edit of the ID Field In the next screen check the Aggregate on this field
Press Save
Add the expense line source
Click on Add Data Source
- Set Select source to Expense Line
- Set Select Join Type to Select fields to join on (not required)
- Set Join on Field to Expense and Expense :: ID
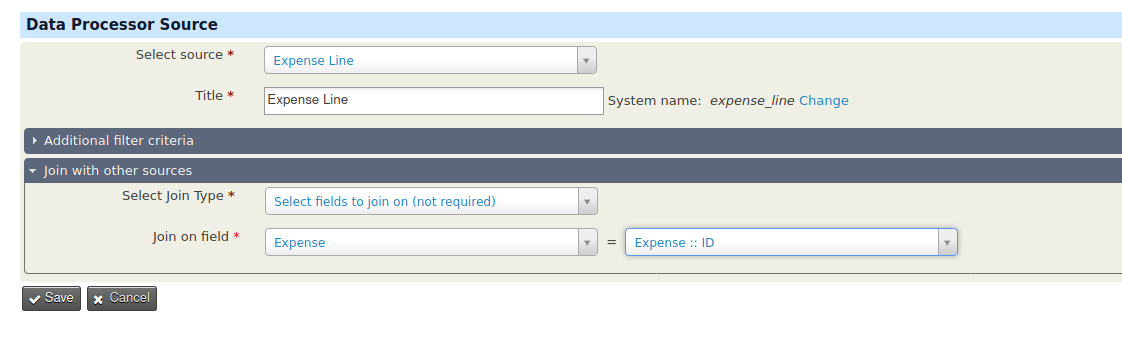
Press Save
Add the total amount field
Click on Add Field
- Set Select Field to Aggregate function
- Set Function to Sum
- Set Field to Expense Line :: Amount
- Set Decimal separator to ','
- Set Thousand separator to '.'
- Set Title to 'Amount'
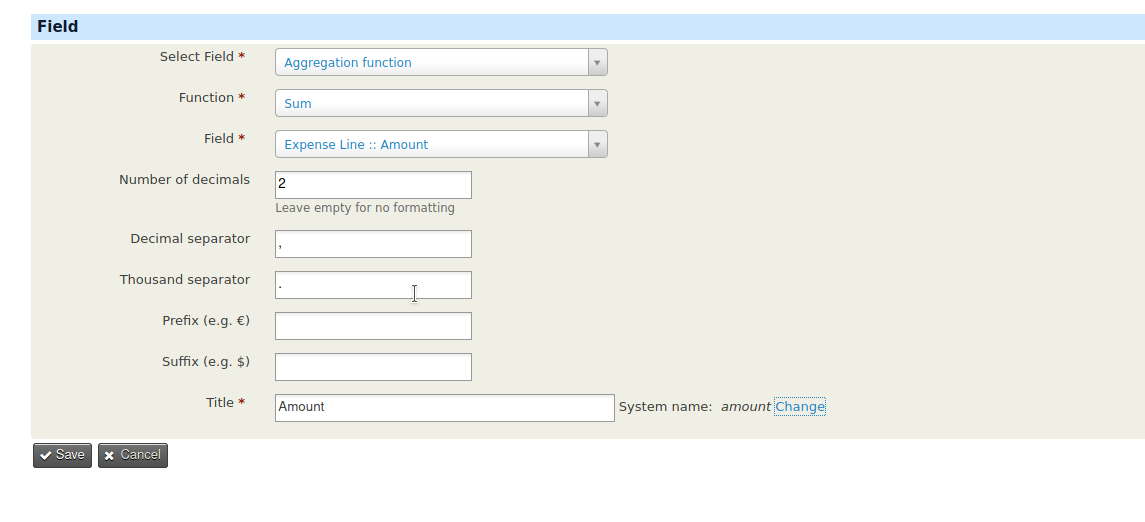
Press Save