Introduction
With the CiviCRM Configuration Loader one can export configuration from an existing system and one can import this configuration into another system.
This extension is developed with two aims in mind. Firstly it makes it easier to configure a test system and then copy that configuration into a production system. Secondly it aims at providing a configuration for certain use cases. Which could then be easily shared within the community.
Example: Grant Application
If your organisation provides grants and you have setup a process for managing the grant application which consists of a grant application case type, custom fields on this case type, a form processor for applying for a grant, relationship types and message templates. You can then export this configuration from your test system, into your production system. And also you can share this configuration with the CiviCRM community so that other organisations who have a similar process could reuse your configuration.
You still have to do the hard work: Thinking
With this extension it is easy to import existing configuration and assume it works in your context. However, during a civicrm implementation one of the jobs which require a lot of attention is to make your context clear and the problems within your context. As you might guess this extension does not do that job.
Installation
Download the latest release from https://civicrm.org/extensions/civicrm-configuration-loader-extension-version-2 and upload it to the extension directory on your CiviCRM server. Then login into CiviCRM and go to Administer > System Settings > Extensions and click on refresh. Then install this extension.
Automatic distribution
This extension is not available yet for install through CiviCRMs user interface. There is a pending review request for this at https://lab.civicrm.org/extensions/extension-review-requests/-/issues/60 So if you use this extension you might want to review it in that ticket so that it becomes available through Automatic distribution.
Configuration
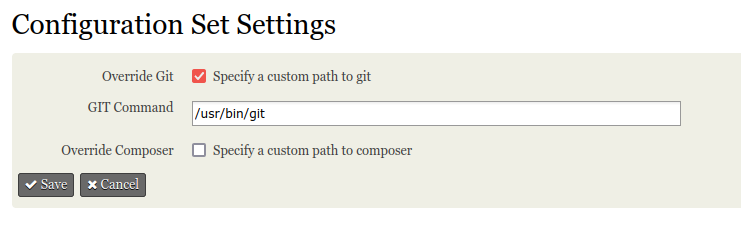
After you have installed the extension you need to check the configuration. Go to Administer > System Settings > Manage Configuration Sets and click on Settings.
In the settings screen you can set a custom path for git and for composer both are needed for installing extensions.
By default this extension tries to guess the path to those commands on your server but if it cannot find it you can specify it here.
Import a configuration set
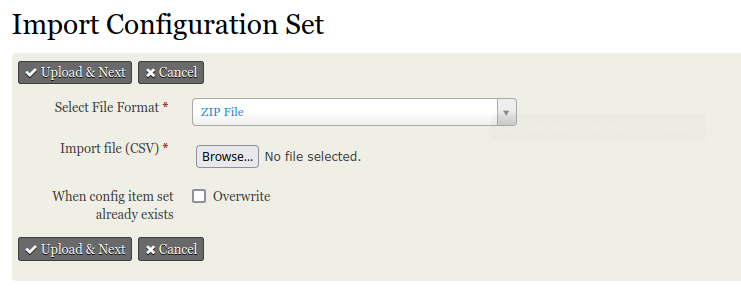
To import a configuration set go to Administer > System Settings > Manage Configuration Sets and then click on Import Configuration
In the next screen you can upload a configuration file.
Example: Buddy
In the examples directory you find examples to try out.
For the next section the example buddy-v1.zip is used.
Click Upload & Next to define what needs to imported. In the screens afterwards you can set what you want to import and wheter your want to overwrite certain configuration if it already exists. The last step is to import it.
After you have imported a file it is stored under Administer > System Settings > Manage Configuration Sets at which you are able to import it again.
Below screenshots of the Buddy example import.
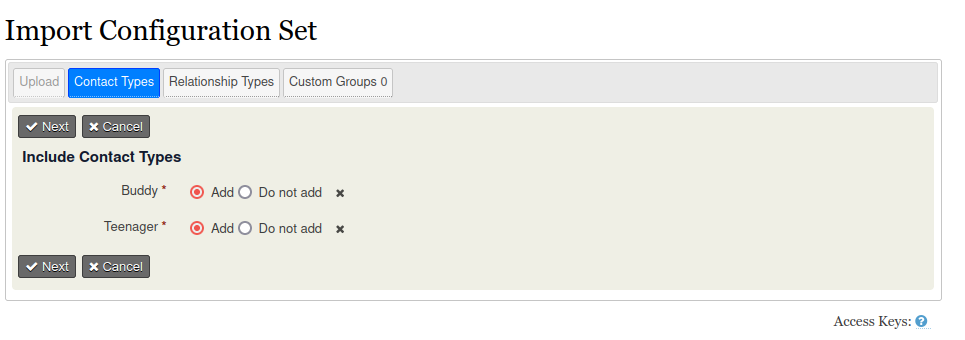
Import contact type configuration
In the screen for contact type you can skip the creation of the contact type or add it. If the contact type already exists it will propose to skip it and you will then have an option to overwrite it.
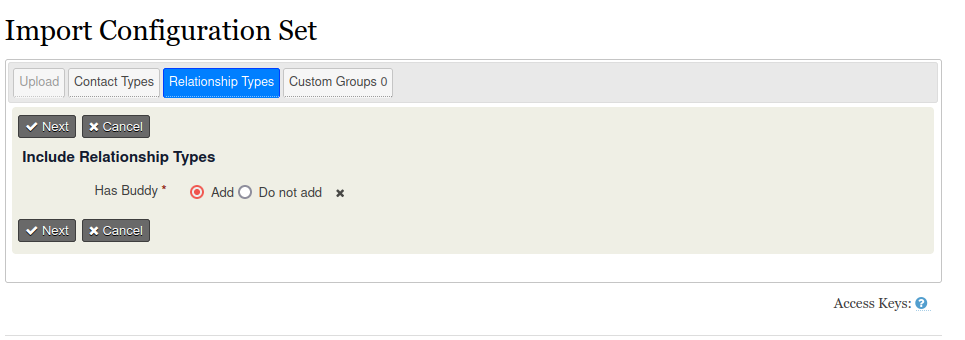
Import of relationship type configuration
In the screen for relationship type you can skip the creation of the relationship type or add it. If the relation type already exists it will propose to skip it and you will then have an option to overwrite it.
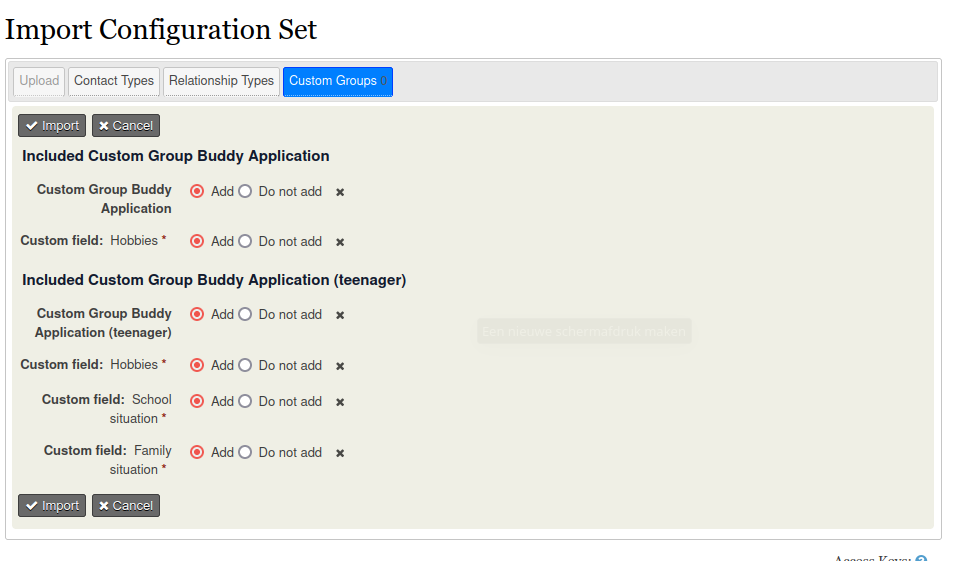
Import of custom groups and custom fields
In the screen for custom groups you can define which custom groups you want to add and within each custom group which custom fields you want to add. If a custom field already exists it will propose to skip it and you will have the option to overwrite it. If a custom group already exists it will propose to skip it and you will have an option to overwrite it.
Create and export a configuration set
To create and export a file you go to Administer > System Settings > Manage Configuration Sets. You then click on Add configuration set.
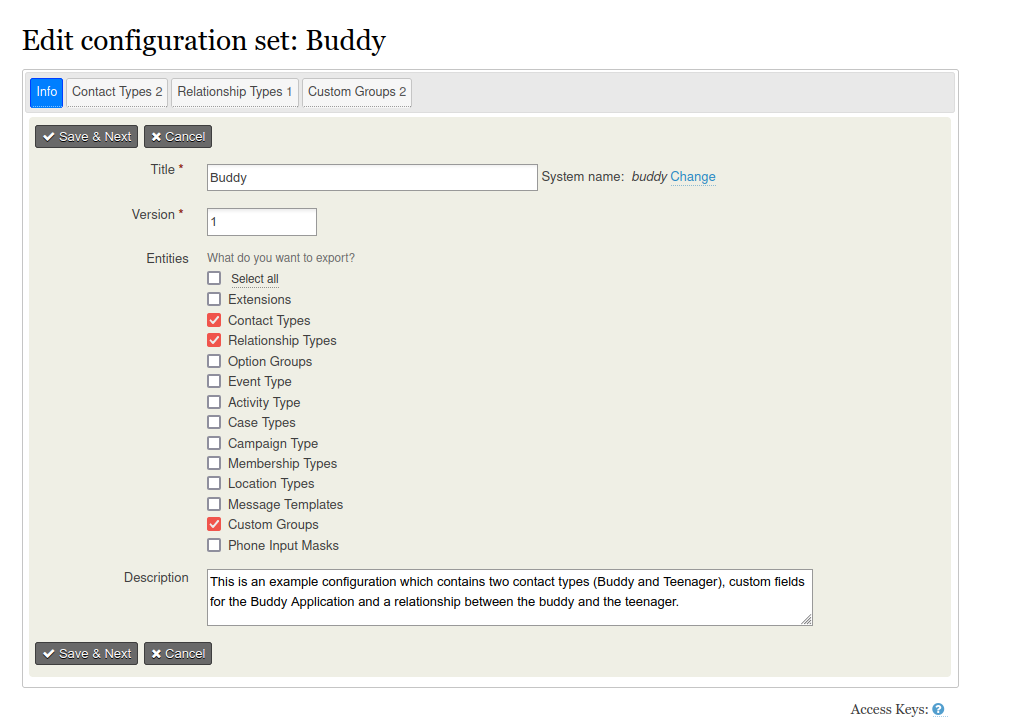
In the next screen you give your set a name, select which entity types you want to export. You can also provide a description for you configuration set.
Press Save & Next to go the next screen.
Example: Buddy
Below I explain how I created an export file for a configuration for a buddy for teenager. This consists of a contact type for buddy and teenager. Custom fields on both contact types and a relationship type between the buddy and the teenager. The exported file is buddy-v1.zip
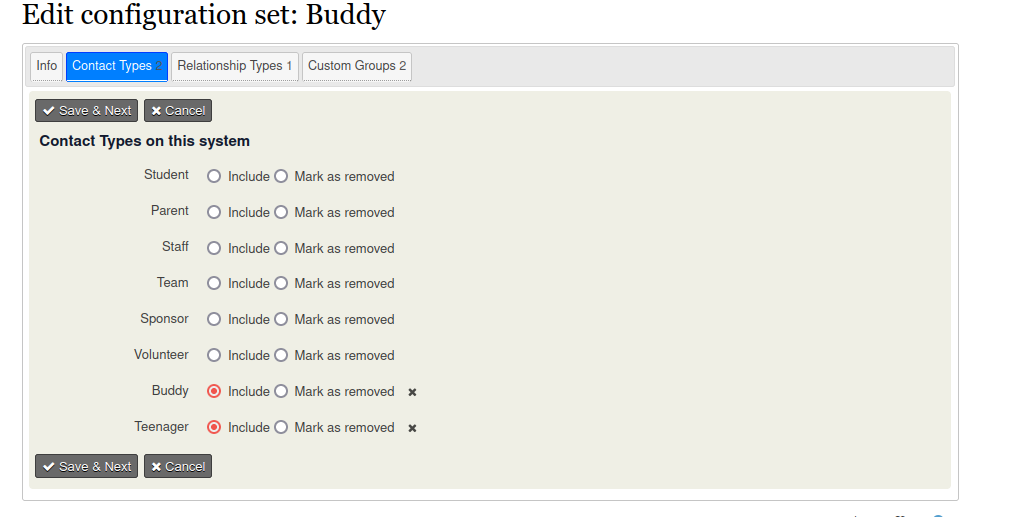
In the next screen you define which contact types you want to include in the configuration set.
In the next screen you define which relationship type you want to include in the configuration set.
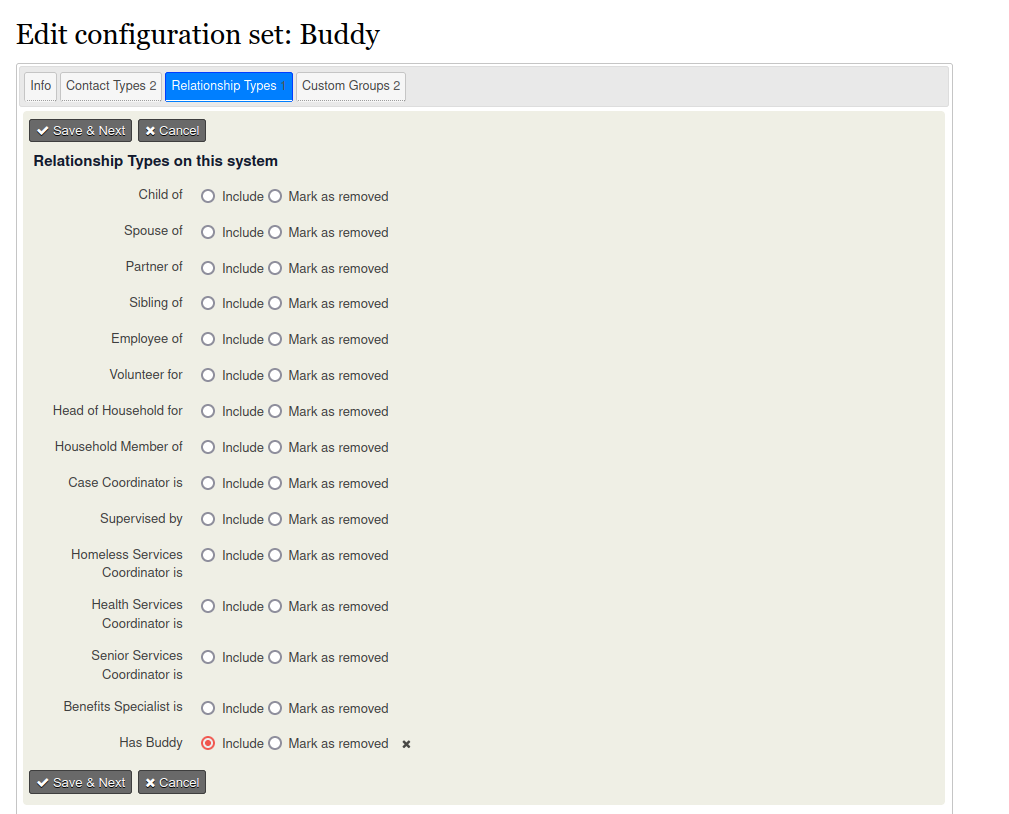
In the next screen you define which custom groups and custom fields you want to include in the configuration set.
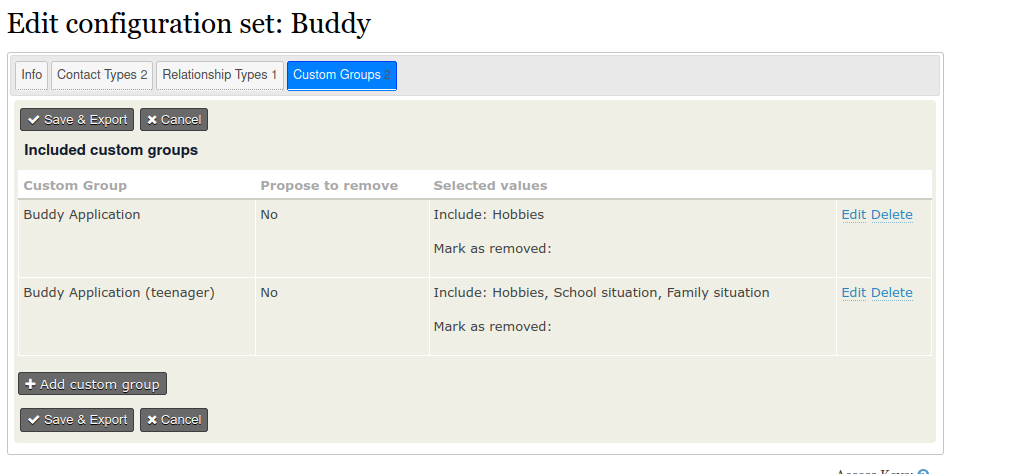
To add a custom group and custom fields click on Add custom group. Which leads to the screen where you can define which custom group you want to add . You can also mark a custom group as removed (this will remove the custom group from the system during import) You can also define whether you want to include all custom fields, or you can specify the specific custom fields for your export.
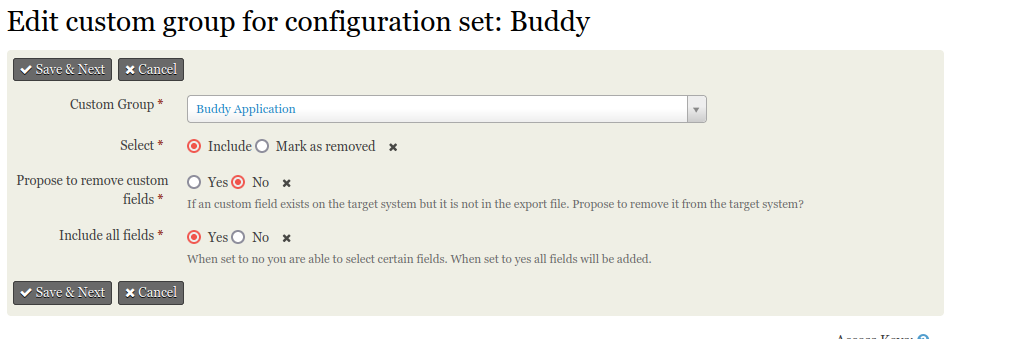
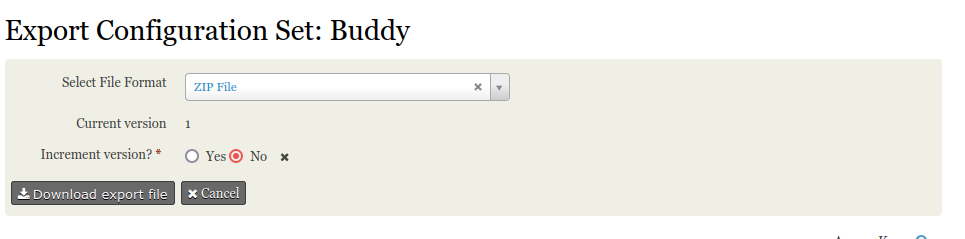
Press Save & Next which leads to a screen where you can download the exported file.